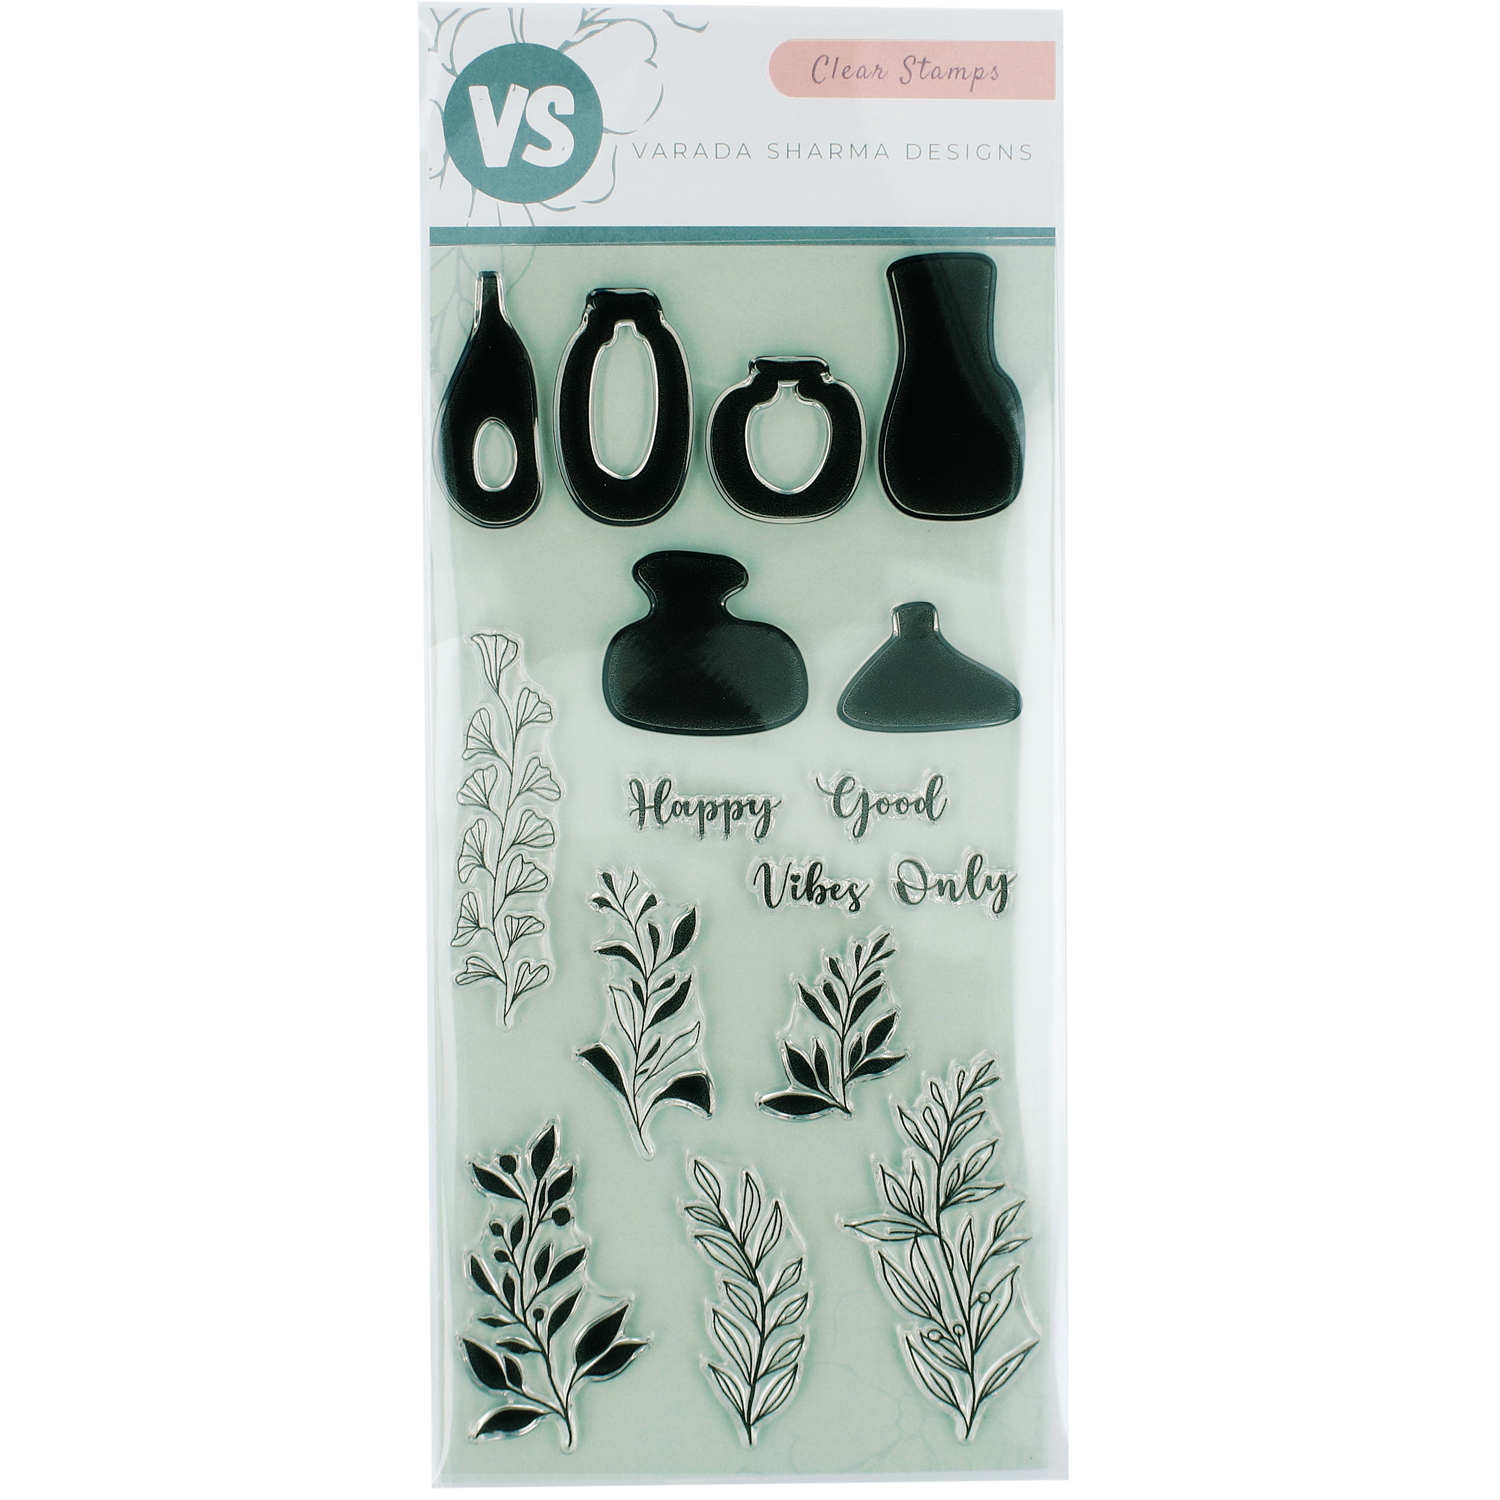
Are you looking for ways to add a bit of boho-chic style to your stationery projects? Look no further! With clear stamps, you can easily bring some extra flair to your crafts. Whether you're stamping handmade cards or creating a captivating bullet journal layout, here are two easy and creative ideas for how to use boho clear stamps by Varada Sharma Designs in a fun and unique way!
2 Ways to Style Your Stationery With Boho Clear Stamps
Perfect for Planners and Bullet Journals
1. Decorate the heading for the current month
Begin by drawing two lines, which will be your border guides. Inking half of the floral stamp and stamp it outside of your borders. Repeat this with 2-3 other floral stamps. For extra details, color your floral stamps in. Measure and cut colored paper to fit inside your border guide. Once done, write in the current month.
2. Use bullet journal stamps to organize calendars, to-do lists, goals and more!
Using our Frames and Borders stamp set and Weekly Tracker stamp set, customize your own calendars, to-do list, monthly goals, and much more.
3. Decorate the page with boho stamps
Bring it all together by stamping a combination of boho and floral stamps with different ink colors.

Boho Plants by Varada Sharma Designs
PIN This Idea!
Make Boho Inspired Greeting Cards
1. Gather supplies
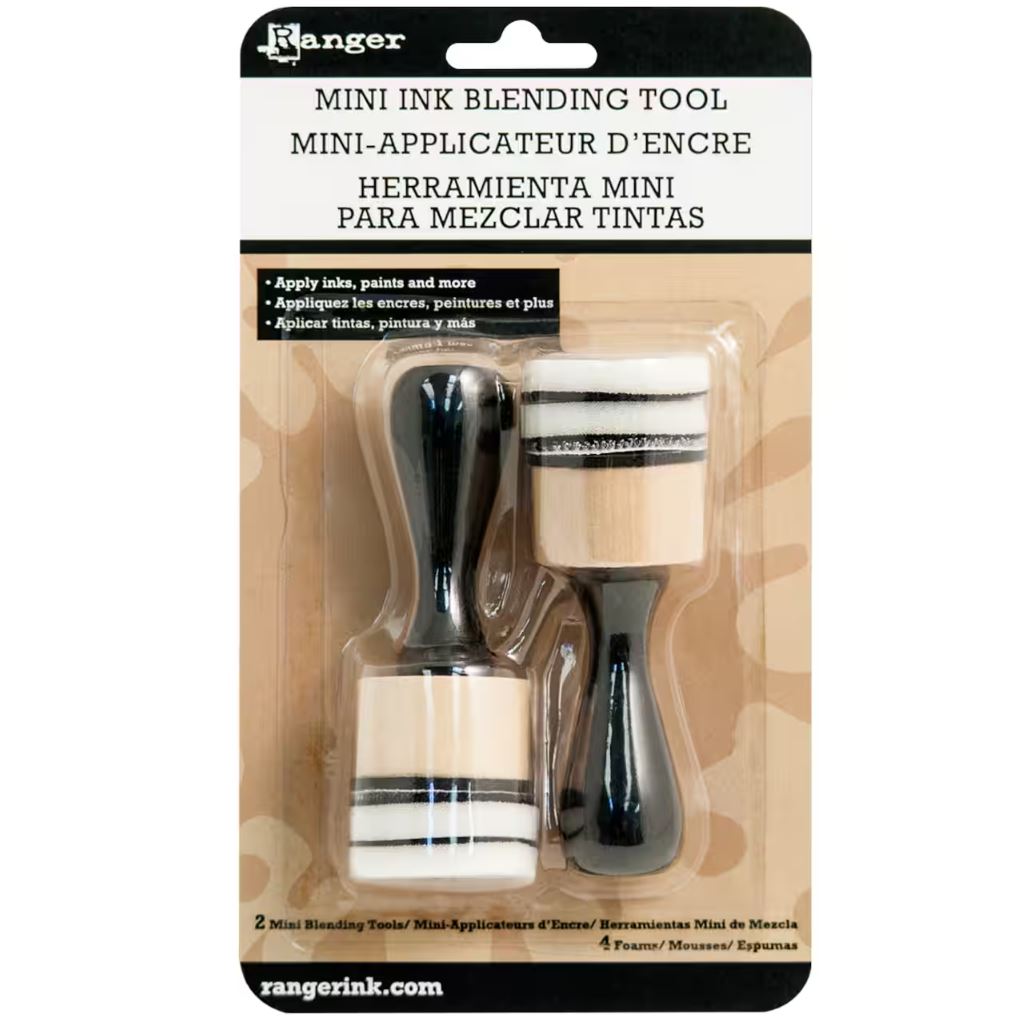
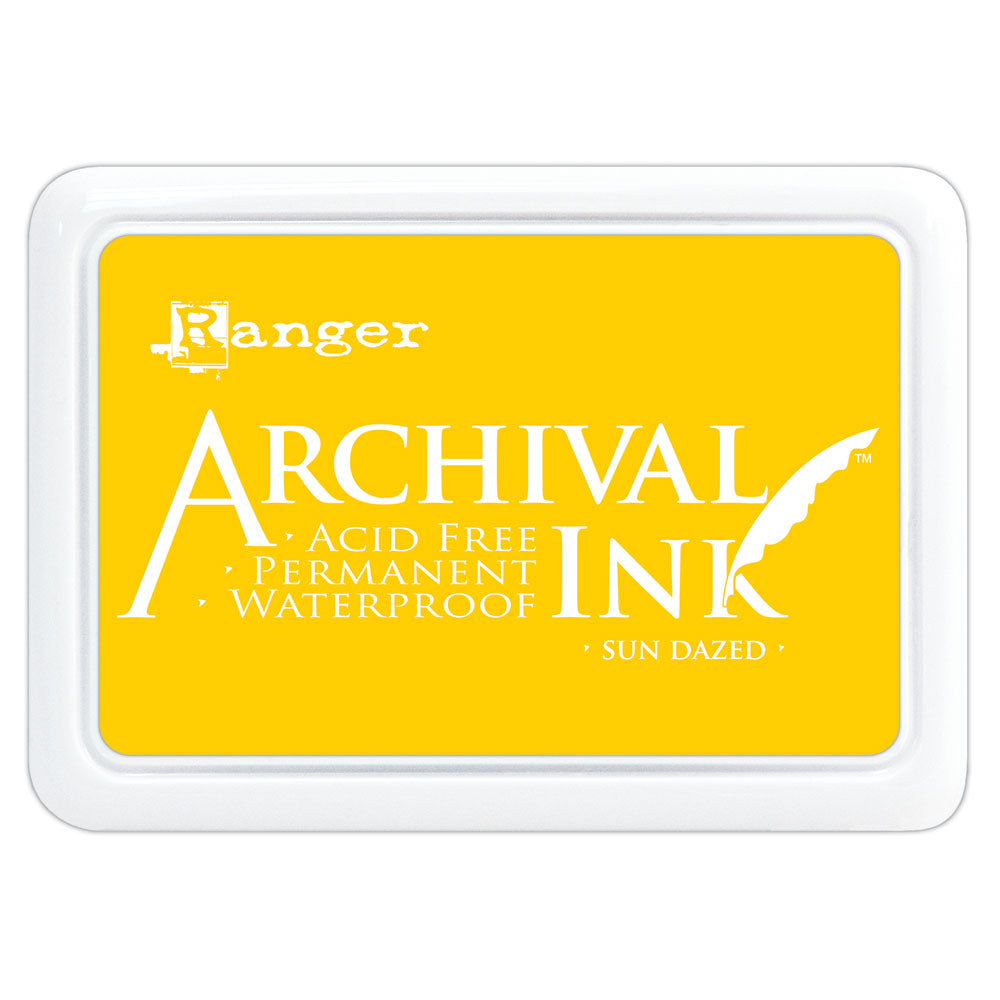
Let's dive into our second project with the Varada Sharma Boho Shapes stamp set. We'll need a 4x6 card, textured cardstock, acrylic clear blocks, craft ink pads, and ink blending tools.
2. Blend ink
Grab your ink blending tool and ink pad, then start blending the ink inwards from the edges. This creates a gradient effect on your cardstock. Just remembered to leave some open space in the middle.
"Ink blending a gradient on textured cardstock captures all of the divots and crevasses in thepaper - which gives the card a unique boho look and feel."
3. Stack the shapes
Start by using the largest half-dome stamp and inking it onto the textured cardstock. Repeat the process with medium and small half-dome stamps. We recommend using Archival ink pads for vibrant colors and crisp lines.
4. Stamp the sentiment
Craft a personalized message or pick one of the heartwarming messages in the stamp set.
5. Assemble the card
Bring the card together by attaching the textured cardstock to the card. Now your card is all set to go!
Optional: For extra razzle-dazzleadd pearl embellishments!


