Create a special card for someone you care about with this vibrant and creative bougainvillea flower card by Teal Kat Designs! Whether you’re looking to brighten up your best friend’s day, send well wishes to a family member or even just wanting a unique way to show appreciation - a Bougainvillea flower card will bring a smile to their face. With our easy step-by-step instructions, creating this cheerful card will be fun and happy - guaranteed! So get ready and break out the craft supplies because we will have you feeling proud of your creativity in no time.
Send Positive Sentiments With a Bougainvillea Flower Card
Greeting Card Materials:
Required Materials
- Bouganvillea Clear Stamp Set
- Free Cricut File - Bouganvillea
- Acrylic Stamp Block
- Craft Ink Pad
- White Cardstock
- Craft Paper of Choice: Colors, Patterns, and Designs
- Glue
- Scissors or Cricut
- Envelope
Optional and Recommended Materials
- Alcohol-Based Art Markers
- Corner Rounder
- Glue Tape Runner
- Gelly Roll White Gel Pen
- Pearl Embellishments
- Tweezers
- Bone Folder
- Address Stamp
How to Make a Sentimental Bougainvillea Flower Card
1. Set up your card stock
To get started, gather all of your materials so you have them accessible.
First off, pick your base paper layer, we selected a pretty pink floral pattern. Then, cut your base card to size. We are working with a 4x6 folded card size. For example, if your final size is 4x6, cut your paper to 8x6. Using a bone folder, fold to size.
Second, we are planning to stamp on white cardstock for the front layer of our card. To maintain a floral border around the white layer, we cut our card stock to 3.5x 5.5 in size.
In this project, we will not be using a Cricut machine, but If you want to layer paper die cuts of these beautiful bougainvillea flower petals, you can use the Bougainvillea Cricut files to cut out your stamp images before inking.
Learn More: How to Cut Out Stamped Images With Cricut
2. Start stamping
Using clear stamps is easy, peel your stamp from the backing sheet and place it onto an acrylic stamp block. The photopolymer is slightly tacky, so your stamp can easily stick and be removed from your stamp block.
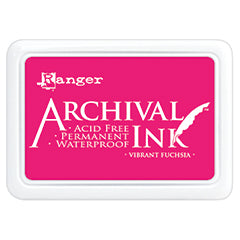
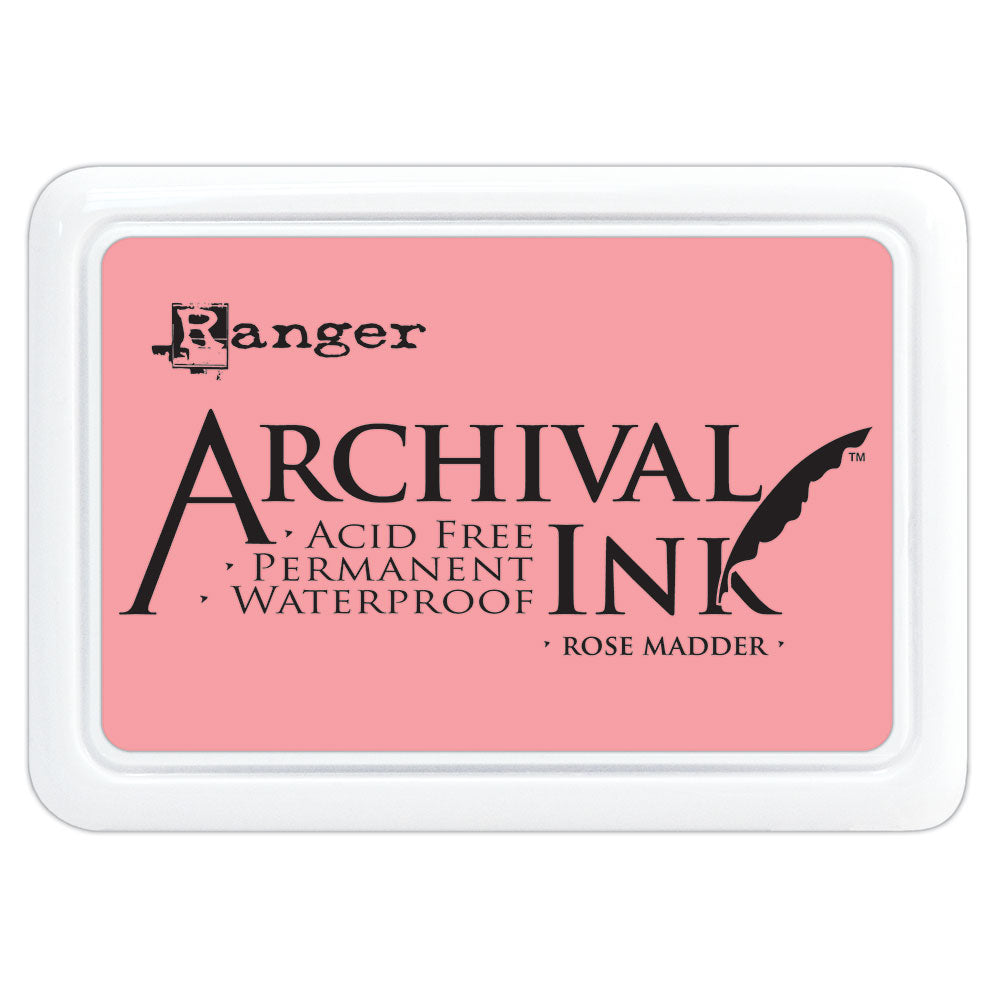
Second, ink your stamp with the ink pad of your choice. In this project, we are using Archival ink pads by Ranger. Archival ink provides long-lasting quality and is universal to use on a variety of craft projects.
You can use your own creativity here, but if you want to follow along with us, this is how we created our Bougainvillea card with a repetitive stamping technique. We began with a high concentration of petals stamped at the top and then spread them out like a gradient further down on the card. This will give the visual effect that the petals are falling.
To begin, we started with the three-petal flower inked in Vibrant Fushia and stamping a few times at the top. Next, we used another three-petal stamp in Light House to create visual dimension and depth with different shades of ink. Lastly, we used a 2 petal stamp in the Rose Madder ink color.
Now, you should have a cluster of petals at the top of your cardstock. Continue to vary your ink colors and start to spread out the petals as you stamp lower down on your paper.
Tip: Layer your stamps conservatively at first. You can always go back and add more stamped layers to fill in gaps later.
3. Add color with markers
This card is super fun as it allows for creative flexibility! At this stage, we start filling in our stamped petals with art markers. There is no exact science to this, let your creative expression guide you!
Tip: Continue to use color variants. Start with lighter colors first. It's easier to blend dark colors on top of light but difficult to blend lighter colors over dark.
5. Assemble the card
Once your petals are colored to your liking, finish the design by stamping your favorite sentiment and add any adhesive pearl or gem embellishments to truly make your design sparkle.
Lastly, Fully assemble your card by simply gluing your design to the pretty pink floral base card layer. Voila! You have a beautiful card to share positive and heartfelt sentiments with friends and family.

Bougainvillea Flower by Teal Kat Design
Don't forget to follow our blog and socials. Show us your version of this card, or share a new creation with us! Tag us @RubberStamps_com and use #StampWithUS to enter our monthly giveaway! Winners receive a $25 credit to use at our shop!
Find More Inspiartion!
Featured Products
HOW DO YOU STAMP?
#STAMPWITHUS
-
Posted in
Card Making


