Crafting is all about having fun, being creative, and sometimes, being resourceful. No craft is more resourceful and creative than shrinky dink jewelry! Using stamps that you already have in your crafting stash, you can make custom charms that look one-of-a-kind. And best of all, the process of creating shrinky dinks makes it so simple and quick - before you know it, you'll have an amazing selection of handmade accessories. Gift them to family and friends for any occasion, or you might find them so adorable you keep some for yourself! So get ready to turn up the heat in your craft corner, let's get started shrinking our stamps!
Shrink Your Stamps! Make Your Own Shrinky Dink Jewelry and Charms
Part One: Stamp, Style and Shrink!
1. Choose your shrink paper
Shrink paper comes in a few styles: Clear, Frosted, and Frosted White.
- Clear sheets are completely see-through where you have not colored or stamped.
- Frosted sheets are semi-opaque with a frosted look. Keep in mind that if your art materials are not 100% opaque, the colors may look a bit more muted on clear or frosted sheets.
- Frosted White sheets provide a 100% white background - as if you are coloring or stamping on white cardstock paper. We found that the Frosted White allows the colors of inks and art materials to look more bright and saturated, because of the bright white background.
2. Select your stamps
Next, grab some stamps that are fun or simply just speak to you or remind you of someone special. Remember that your stamps will shrink at least 50% in size when the shrink paper is heated, so select an appropriate size stamp for your project.
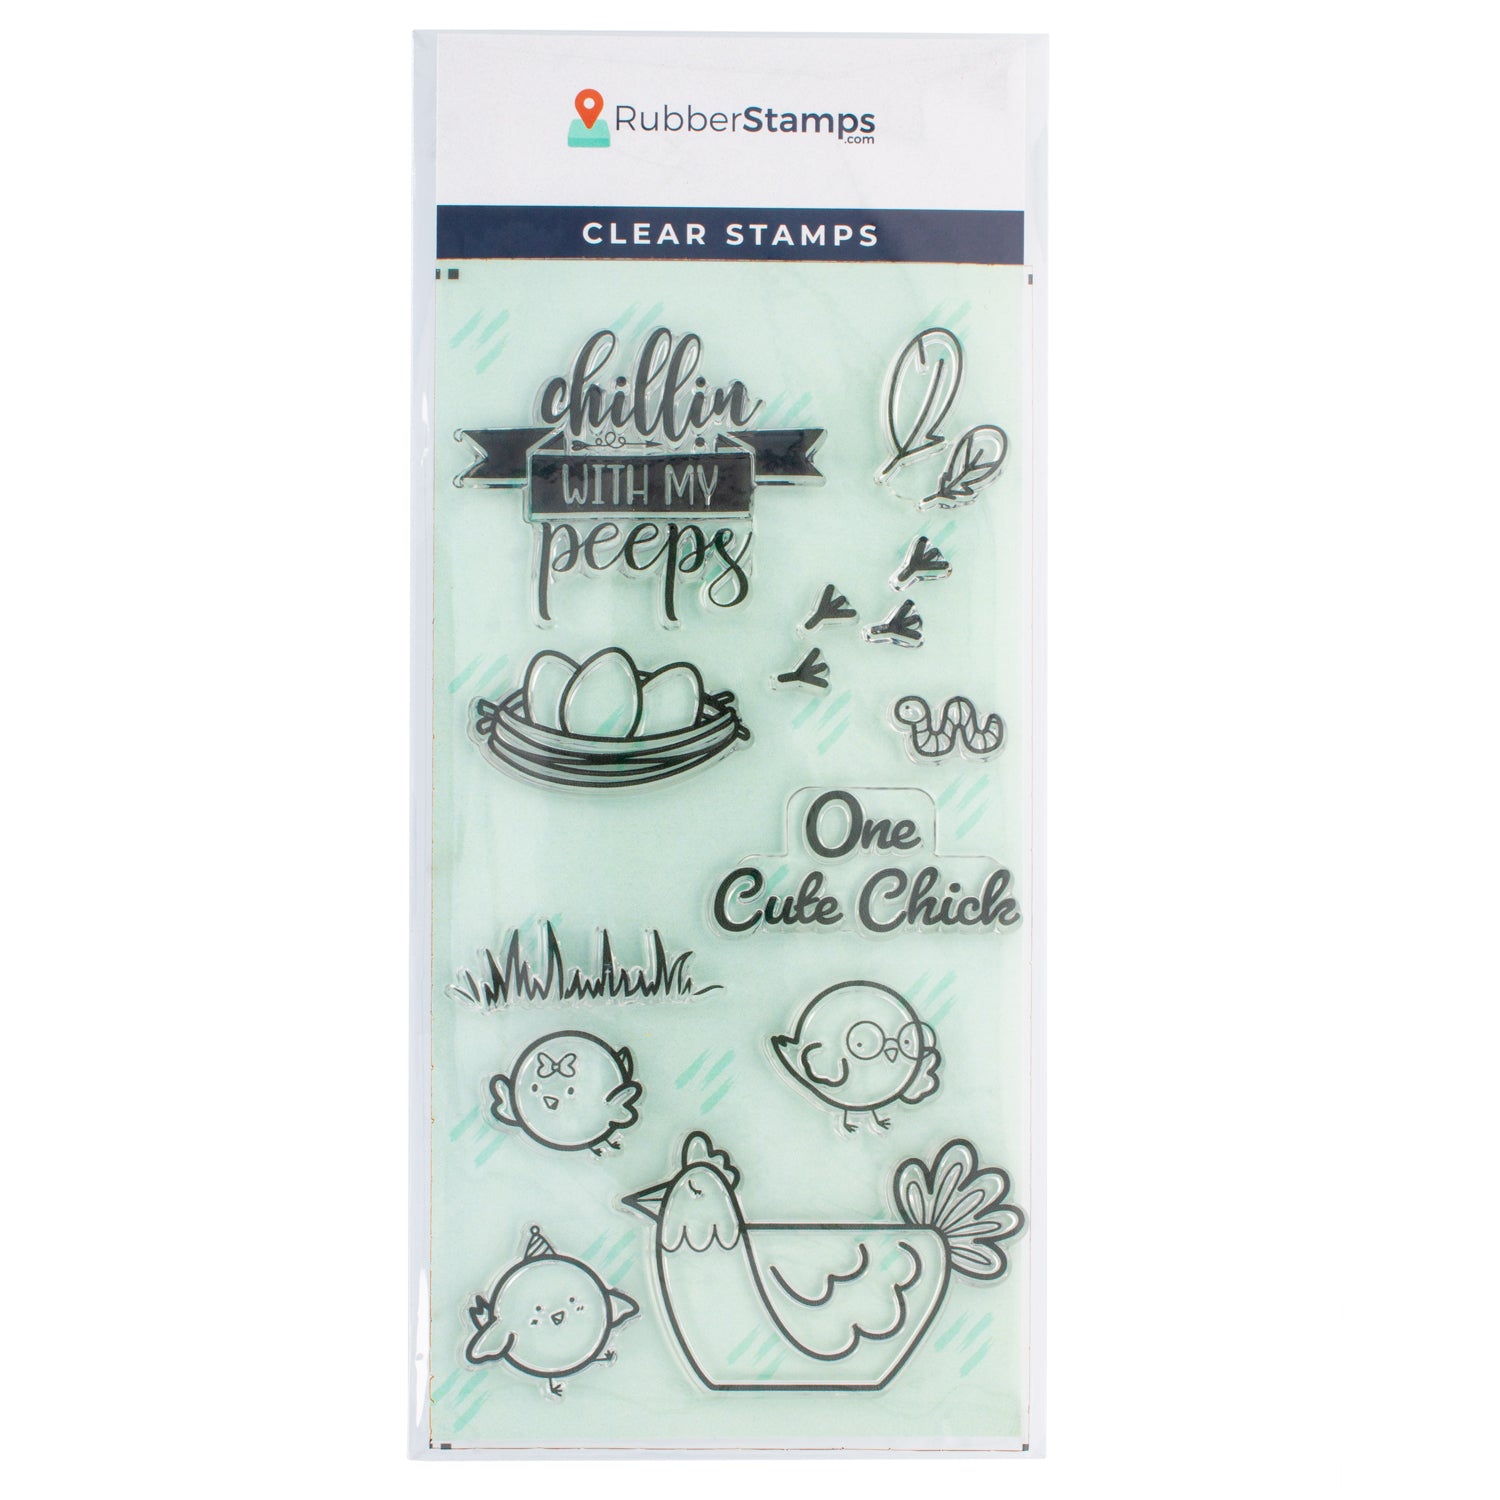
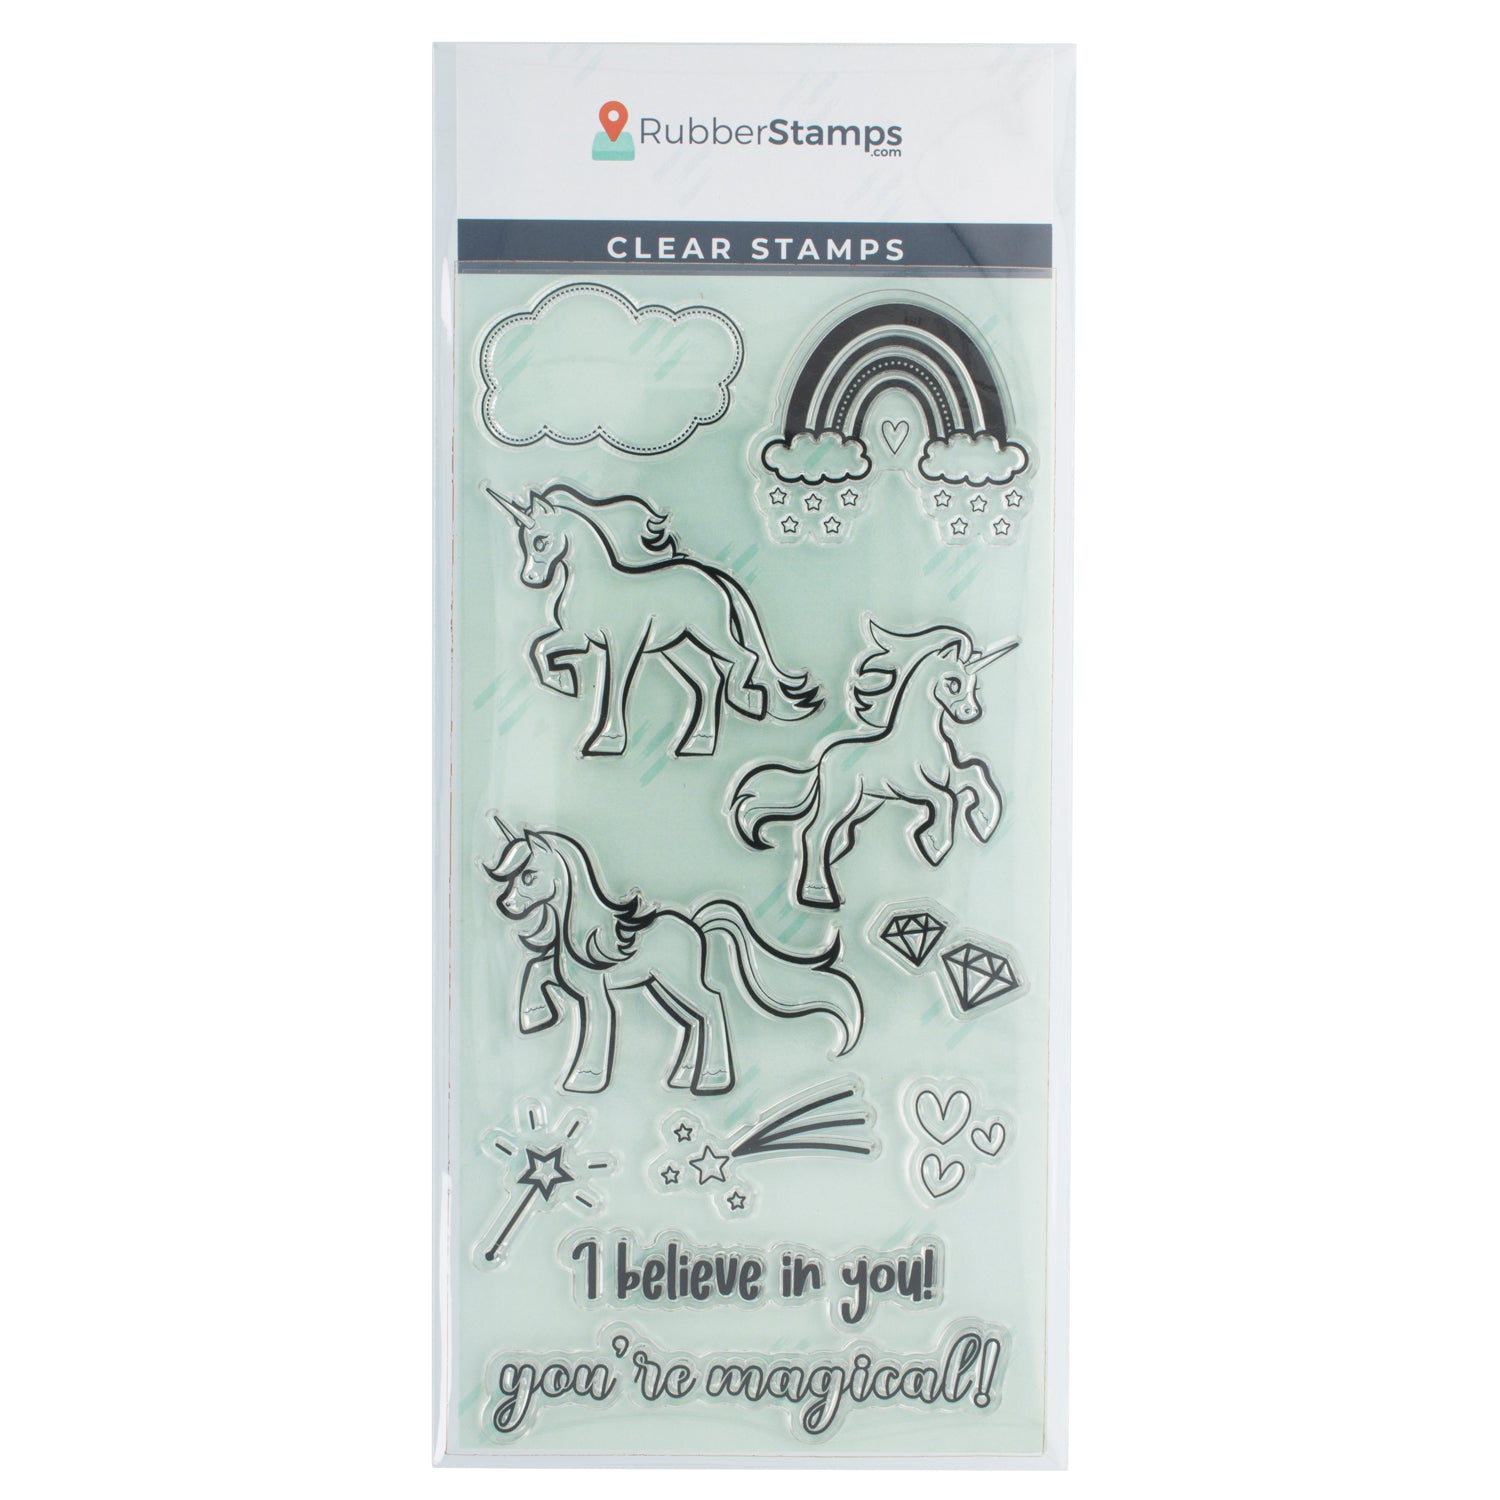
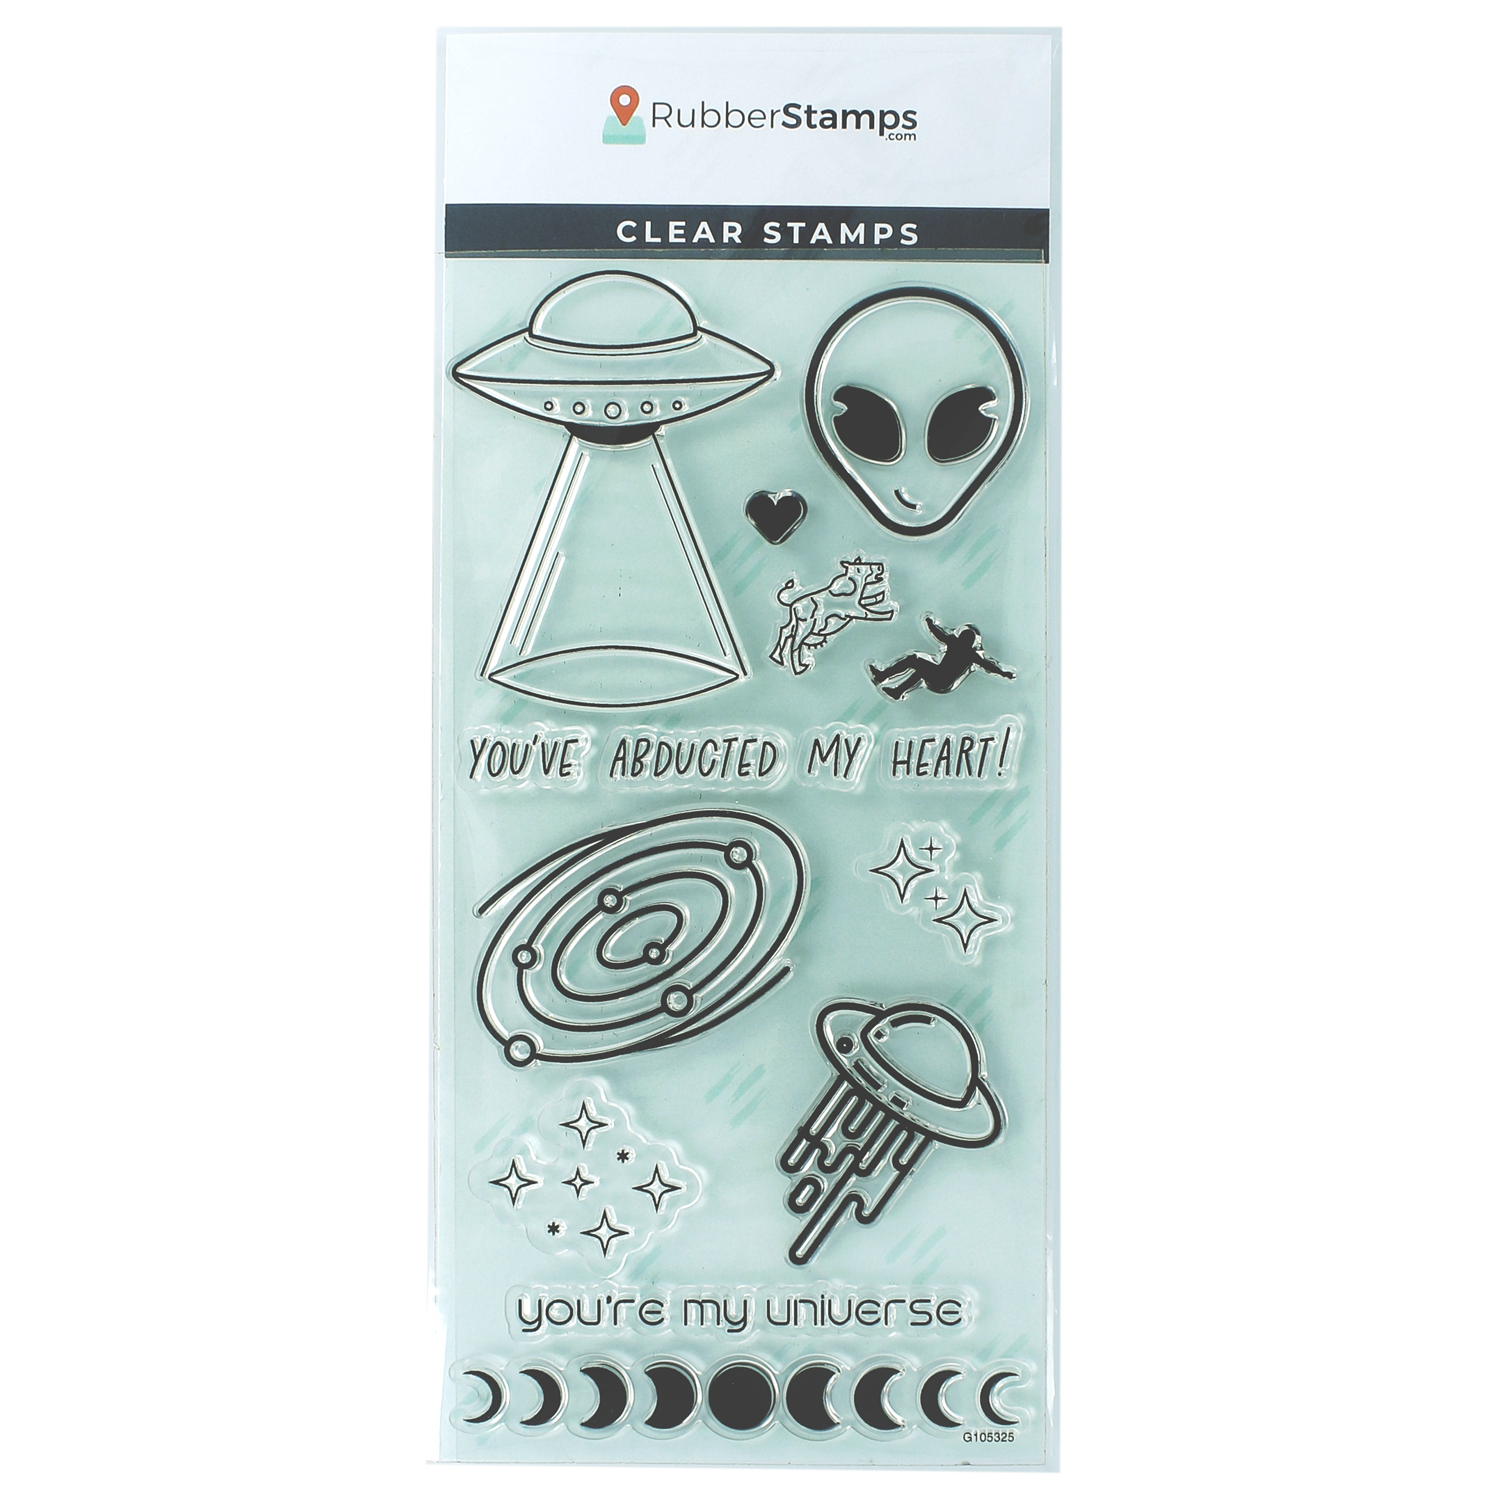
Using clear stamps is easy, simply peel your stamp from it backing sheet and place it onto an acrylic stamp block. The photopolymer is slightly tacky, so your stamp can easily stick and be removed from your stamp block.
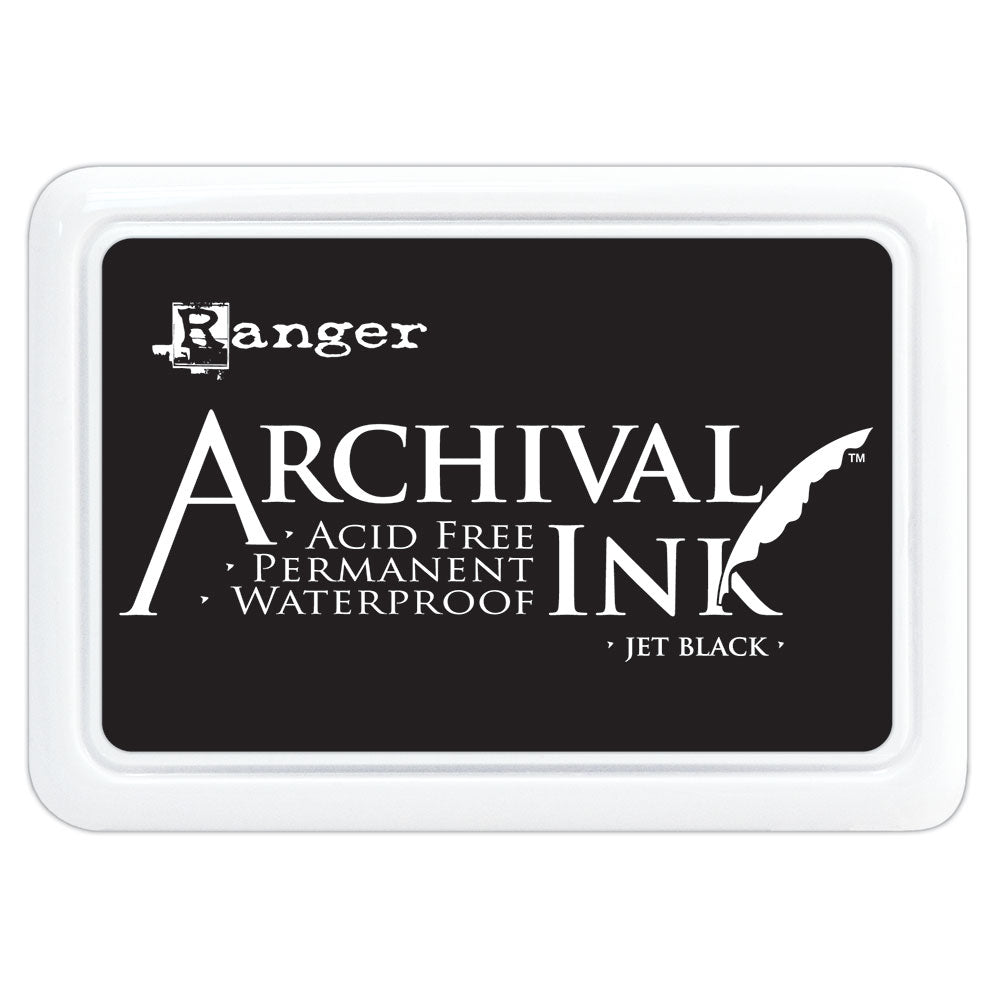
Second, ink your stamp with the ink pad of your choice. In this project, we are using Archival Ink. These ink pads come in a variety of colors, perfect stamping and coloring designs for jewelry or charms.
Stamp all the designs you want to use on the shrink paper. Be sure to leave enough space around the stamped impressions so that you can cut around them.
3. Color your stamps
Once you have stamped all your images on shrink paper, it's time to color them! We recommend using acrylic or alcohol art markers. Color to your desired look and detail.
Tip: Acrylic or alcohol marks must be used. Generic markers such as Crayola are water-based and will not absorb into the shrink paper.
4. Cut your stamps
To cut your stamped images, first cut them apart in large chunks. Then trim smoothly around the stamped images leaving a thin white border.
Tip: Keep in mind if you are placing a hole punch in your design. You will need to add a hole punch BEFORE shrinking for items like dangle earrings, necklaces, or charms. You can forego this step for items like pins or stud earings.
5. Time to shrink!
Now for the fun part, we shrink our stamps! We recommend using a heat tool over an oven or toaster oven as a heat tool works in just seconds. Watch below how fast you can shrink!
Tip: If you use a heat tool, place your shrinky dink in a confined space. For example, in the center hole of a tape roll, or a high heat resistant container.
IMPORTANT! Shrinky Dinks will curl in the heating process. To ensure your Shrinky Dink cures flat, have a smooth flat object readily available to flaten them immediately after being heated. We used our acrylic stamping block as an easily accessible tool to fatten our Shrinky Dink designs. You only need to place the object over your Shrinky Dinks for a few moments to let them cure.
If you opt for an oven or toaster oven, the process is still fast and only takes a couple of minutes, plus you can shrink multiple stamps at a time placing them on a cookie sheet. So use whatever you have available, just follow the directions that come with the shrink paper.
6. Coffee Break!
Part Two: Assemble Shrinky Jewelry and Charms
Gather jewelry hardwear!
To complete the next steps in turning your shrinks into jewelry or charms, you will need the necessary hardware to do so. This is what we are using:
- Large 24mm split rings for keychains
- Jewelry pins
- Fish hook earrings
- Small 2mm split rings for charms
- Post studs for stud earings
- Magnet tape strips
- Super glue
How to make shrinky stud earings
On the back of your shrink design, add a tiny drop of superglue and secure your stud earring hardware. Use this same process with the superglue to your shrink jewelry charm to rings or hair clips.
How to make shrinky dangle earings
To make dangle earrings with the fish hook style hardware, you will need the 2mm split ring. With 2 small pointed end plyers, open the split ring to secure into the shrink hole.
Tip: To open the slipt ring hold each end with the pointed pliers and be sure to twist your hands in opposite directions.
Next, add the fish hook earring hardwear to the open split ring. Use the pliers to pinch and close the opening once placed through the hole. Repeat this process with a second 2mm split ring to attach the shrink charm.
How to make shrinky charms or keychains
To make a keychain, we will start with the 2mm split ring, twisting the ends with our pointed plier's tool and securing them to the shrink charm. Then we will take a 9mm split ring and attach it to the 2mm ring. Lastly, we attached the large 24mm split ring to the 9mm size to make our keychain! Use the smaller size rings for charms and the larger size for keychains.
Optional: Package them for gifts
Grab some earrings and jewelry display cards to attach your shrink jewelry. This makes for a perfect display for gift-giving or even to sell your own jewelry! Gift them as birthday presents or stocking stuffers for the holidays!
Find More Inspiartion!
Featured Products
HOW DO YOU STAMP?
#STAMPWITHUS
-
Posted in
Gift Ideas, Tutorials and How To's


