Welcome card makers and DIYers! Today we’re getting creative and inspired by the works of Bob Ross. We’ll be making our own calming lake greeting cards, just like those serene, happy little paintings we all know and love! Get ready to easily recreate this famous Bob Ross painting with stamps! Even if you have limited crafting experience, this project is easy to follow along - just like with Bob Ross! So get your markers ready as we start creating these handmade masterpieces!
Make a Bob Ross Calming Lake Greeting Card
Greeting Card Materials:
Required Materials
- Bob Ross Claming Lake Clear Stamp Set
- Free Cricut File - Bob Ross Calming Lake
- Acrylic Stamp Block
- Archival Ink Pads
- White Cardstock
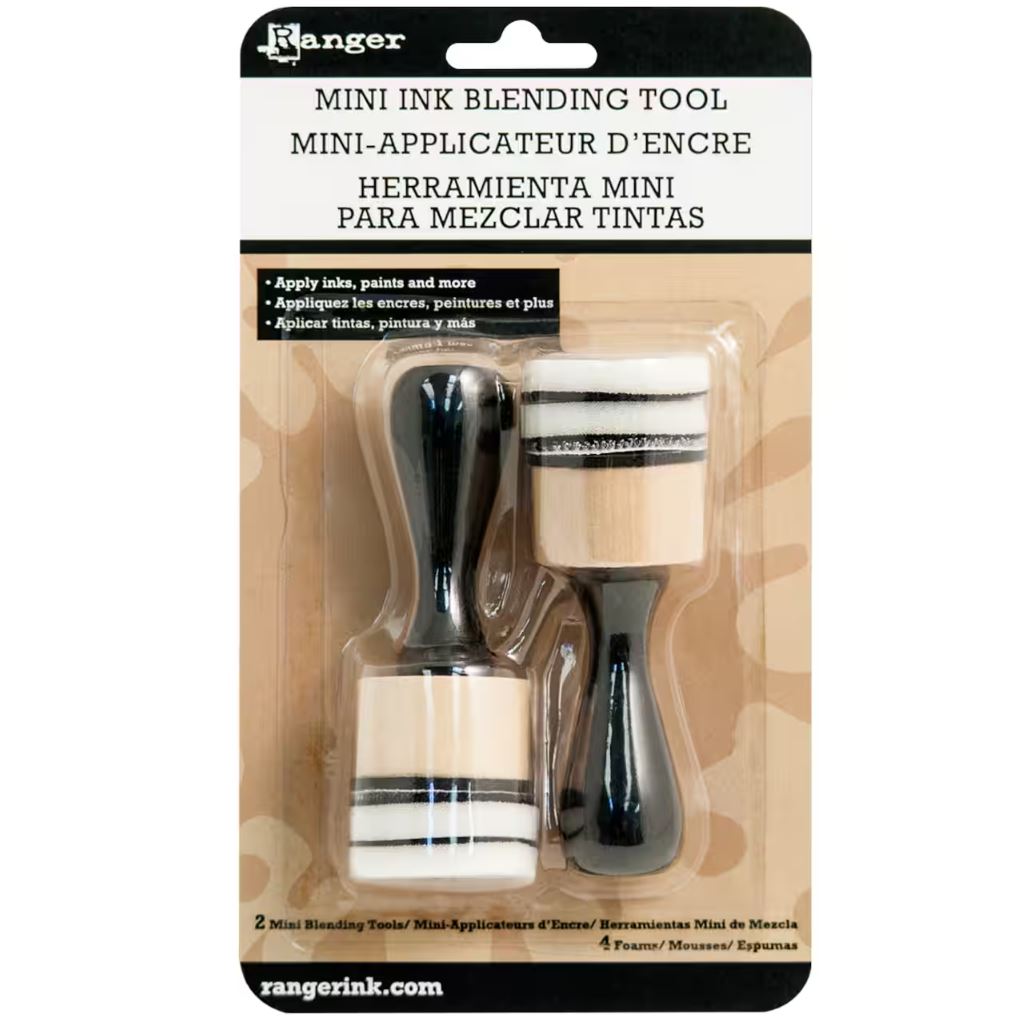
- Ink Blending Tools
- Glue
- Scissors or Cricut
- Envelope
Optional and Recommended Materials
- Glue Tape Runner
- 3-D Styrofoam Dots
- Tweezers
- Exacto Knife
- Bone Folder
- Adhesive Embellishments
- Address Stamp
How to Recreate a Bob Ross Painting With Stamps
1. Gather and prepare card and materials
To get started, gather all of your materials so you have them accessible.
If you have a Cricut machine, you can use the Bob Ross Calming Lake Cricut files to use as die cuts. If you don't have a Cricut machine, you will need an extra piece of white card stock for stamping.
Have your canvas (a.k.a card) ready by cutting and folding it to size. We recommend using a larger 5 x 7 folded card size.
Tip: Tape your card to a craft surface that can get messy. This will secure your card in place as you "paint" or ink blend your landscape scenery. The tape will also serve as a nice framed border when you are done!
Learn More: How to Cut Out Stamped Images With Cricut
2. Begin ink blending
Now it's time to create our Bob Ross masterpiece! When it comes to ink-blending and stamping, remember to always work light to dark with your colors. With that said, in Bob Ross fashion, we will start with the sky and begin ink blending our sunset shades.
- Start with a Chrome Yellow ink pad
- Firmly rub the blending tool onto the ink pad
- In a circular motion, rub the brush onto your paper, starting with the sky
- Next, blend the Coastal Coral color below the yellow
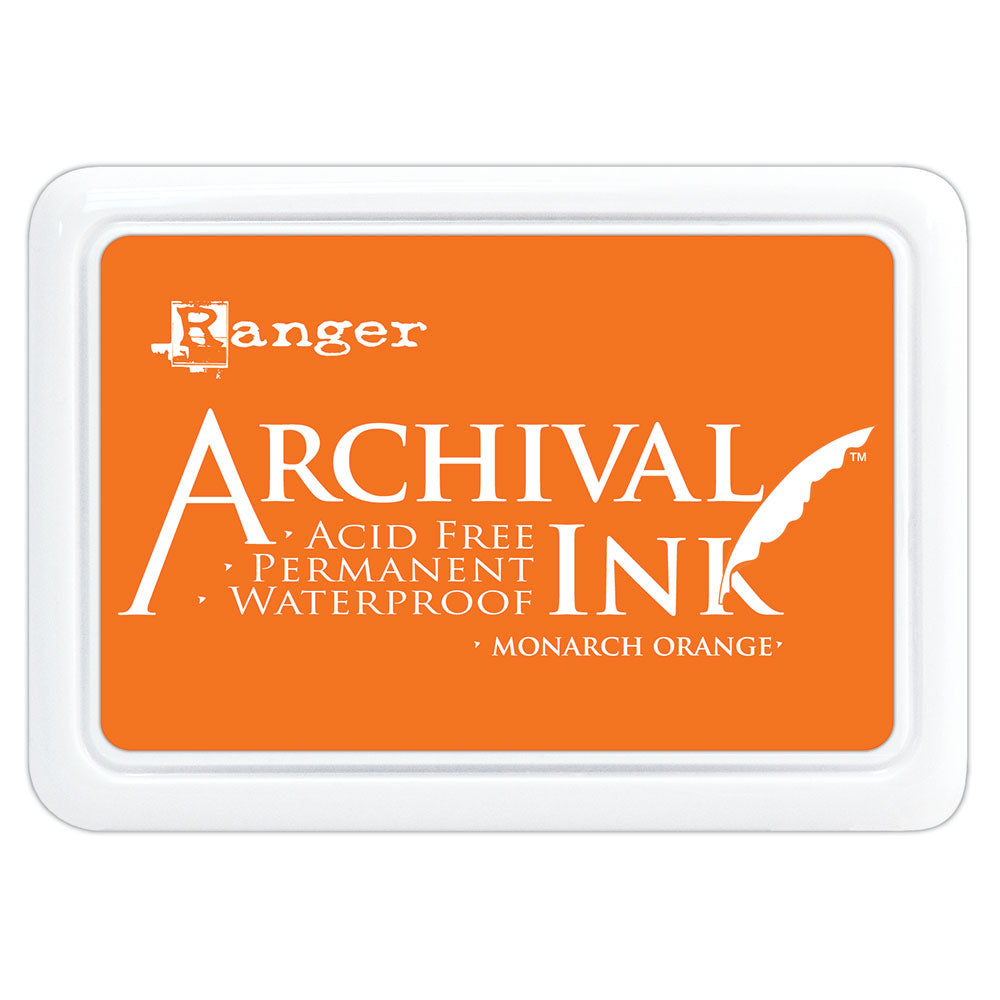
- Blend the side and top edges with Monarch Orange ink pad
- Lastly, finish the sunset sky with a light layer of blue French Ultramarine
Repeat this process on the lower half of your card to create what will be the sky reflected in the water of the lake.
"Go out on a limb, that's where the fruit is"
- Bob Ross
3. Stamp the mountain rage
Using clear stamps is easy, simply peel your stamp from it backing sheet and place it onto an acrylic stamp block. The photopolymer is slightly tacky, so your stamp can easily stick and be removed from your stamp block.
Begin layering your mountain range with the top stamp of the stamp set. Ink your stamp with the ink pad of your choice. For this stamp layer, we are using Archival Ink in the color Seafarer. Thoroughly ink the stamp by pressing the pad against the polymer. Stamp the first mountain layer within the top 1/3 of your "canvas."
Select the middle stamp from the stamp set to create the second mountain rage layer. We choose to use a darker Cobalt Blue ink, again always working from light to dark ink colors. Place this stamp layer a little below the first layer. Stamp this layer multiple times in different shades or placements to create an additional layering effect.
3. Create the shoreline
Now, use the bottom stamp in the set to create the shoreline of the lake. We chose to mix Jet Black and Library Green ink onto the stamp to create a deep and rich shade of green.
We end our stamping layers with the water ripple stamp. You could add this stamp as ripples in the lake or as clouds in the sky, or both! Using the White Pigment ink, stamp the water ripples into the lake as a reflection and in the sky for clouds. We can use white over our darker colors because we used a pigment ink. Even so, the white does blend into the colors behind it, which works well for this project - making it look more like a painting! Pigment ink is more saturated with color than dye or archival inks, however, it does take a few minutes to dry, so be sure to let the pigment ink set before any additional stamping, detailing, or touching.
4. Add the little trees and bushes
Using your Cricut die cuts or a separate piece of paper stamp the large and small trees with ink color Sepia. Next, we will use the little bush stamps to create the fall leaves color and texture. Begin stamping with Chrome Yellow (stamping from light to dark colors). Then Monarch Orange, and finishing with the color Vermillion.
Tip: Turn the stamps and overlap them to recreate a painted-styled tree. This blends ink layers and creates texture.
Keep using the additional-sized bush stamps to create the shrubs around the lake's shoreline. Repeat the stamping and layering process used for the trees. Finally, overlap the twig stamps onto your bushes to create a more shrub-like look.
5. Stamp a Bob Ross Quote
This bundled set comes with some inspiring Bob Ross quotes. You can also get a full clear stamp set of Bob Ross quotes. We decided to add the quote "Go out on a limb, that's where the fruit is," stamped over the sky in Jet Black ink.
6. Assemble the tree and brush layers
If you need to cut around your stamped images, do so now. Leave a little white edge around your stamped shapes. Loosely place your trees and bushes on the card to finalize your layered look and layout. Use a mess-free glue runner or 3D adhesive dots to secure and layer your trees and shrubs around the shoreline. Lastly, add additional embellishments if you choose. We added some adhesive pearls to add extra detail to our Bob Ross stamping recreations!

Bob Ross Calming Lake
Now you're ready to create your own Bob Ross masterpiece and turn it into a greeting card for all your friends! Don't forget to follow our blog and socials. Show us your version of this card, or share a new creation with us! Tag us @RubberStamps_com and use #StampWithUS to enter our monthly giveaway! Winners receive a $25 credit to use at our shop!
More Bob Ross Inspiered Designs!
Featured Products

Mini Ink Blending Tool 1" Round (Includes 2 Tools/4 Foams)

Archival Ink Pads - Chrome Yellow

Archival Ink Pads - Monarch Orange

Archival Ink Pads - Coastal Coral

Archival Ink Pads - Cobalt

Archival Ink Pads - French Ultramarine

Archival Ink Pads - Vermillion

Archival Ink Pads - Sepia

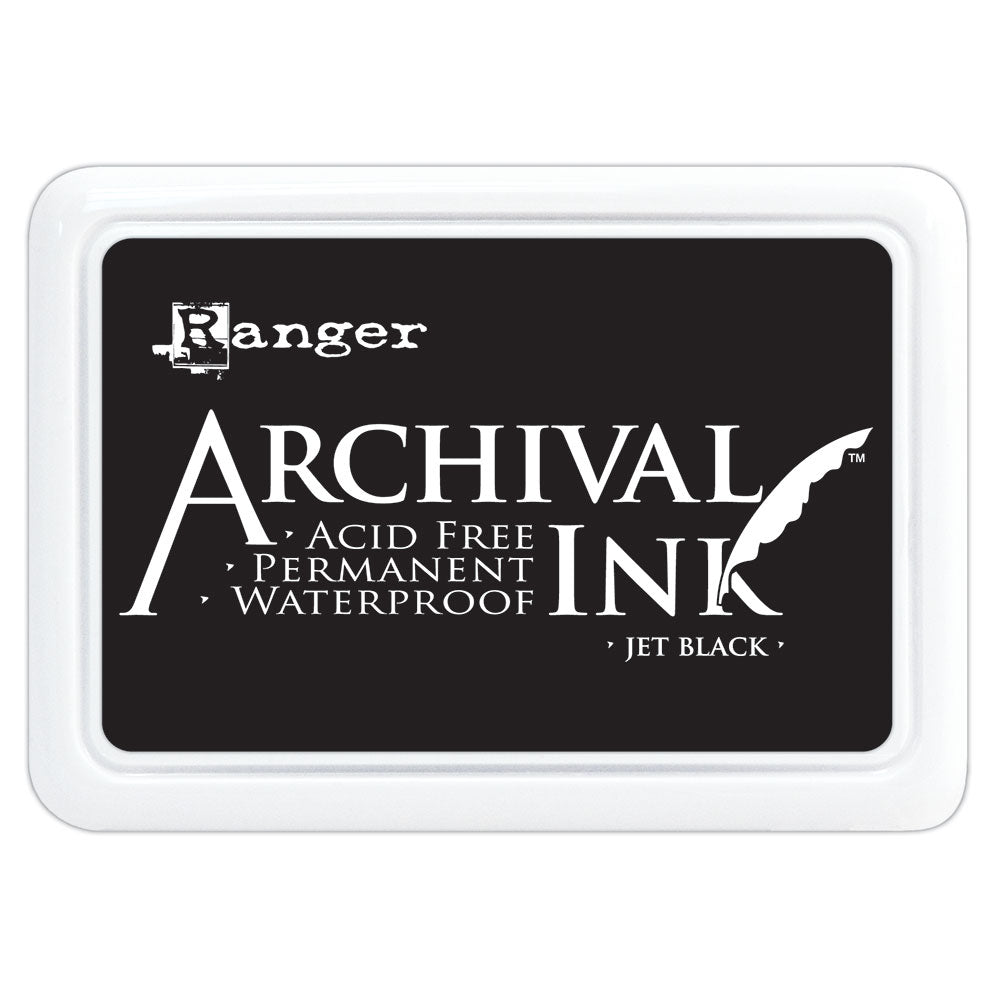
Archival Ink Pads - Jet Black

Archival Ink Pads - Seafarer

Archival Ink Pads - Library Green

Archival Ink Cleaner
HOW DO YOU STAMP?
#STAMPWITHUS
-
Posted in
Card Making


