Are you looking for a fun and unique way to create something special for the upcoming baby shower? Get ready to embrace your inner Bob Ross with The Joy of Stamping! Today, let's create a funny and adorable card inspired by his whimsical creative vision. You'll have everyone giggling by reminding the happy couple that in life, there are no mistakes - just happy little accidents! Join us today as we get artsy and create the cutest baby shower card featuring Bob's beloved trees and forest critters.
Inspired by Bob Ross - A Happy Little Baby Shower Card
Greeting Card Materials:
Required Materials
- Bob Ross - Happy Little Critters Clear Stamp Set
- Free Cricut File - Happy Little Critters
- Acrylic Stamp Block
- Craft Ink Pads
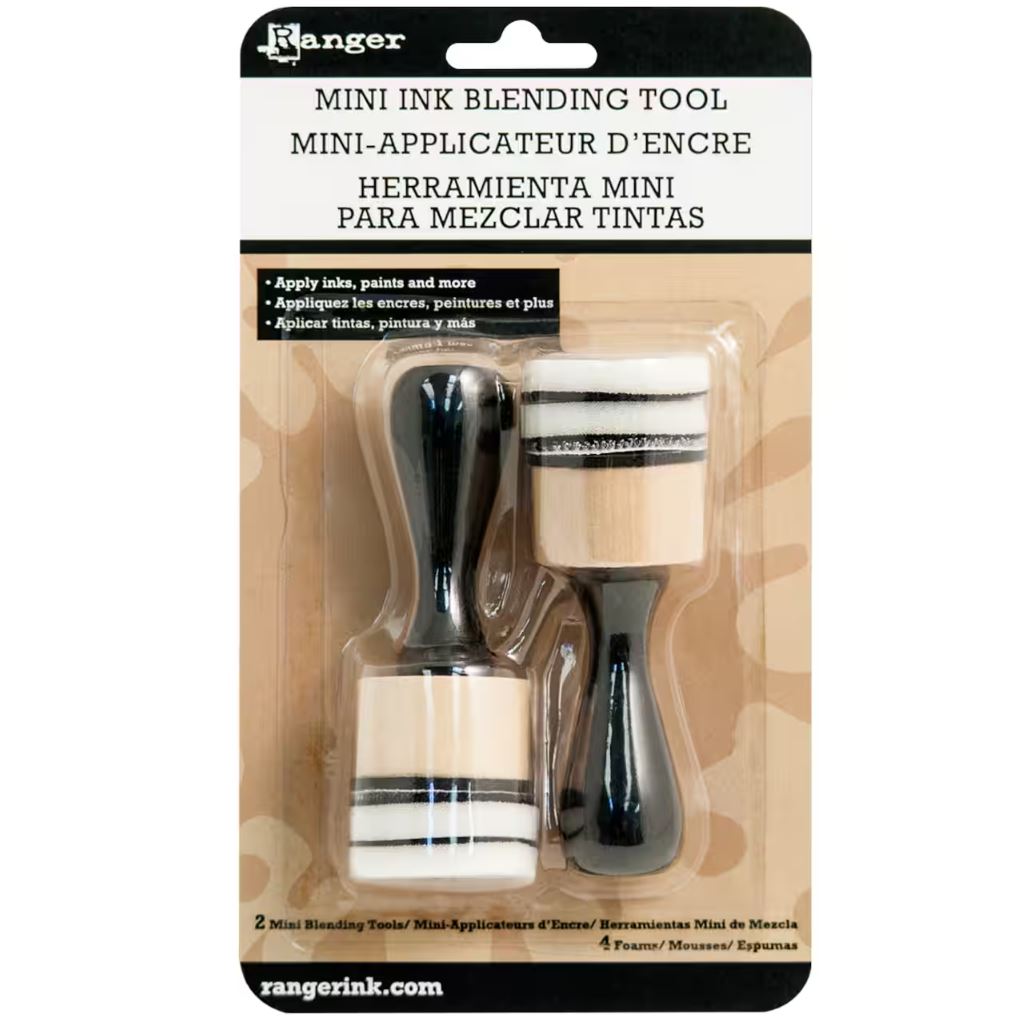
- Ink Blending Tool
- Alcohol Art Markers
- White Cardstock
- Craft Paper of Choice: Colors, Patterns, and Designs
- Glue
- Scissors or Cricut
- Envelope
Optional and Recommended Materials
Let's make a Happy Little Baby Shower Card
1. Gather and prepare card and materials
To get started, gather all of your materials so you have them accessible.
If you have a Cricut machine, you can use the Bob Ross Calming Lake Cricut files to use as die cuts. If you don't have a Cricut machine, you will need an extra piece of white card stock for stamping.
Have your canvas (a.k.a card) ready by cutting and folding it to size. We recommend using a larger 5 x 7 folded card size.
Tip: Tape a border around your card to secure it to a craft surface that can get messy. This will make crafting easier as you "paint" or ink blend your landscape background The tape will also serve as a nice framed border when you are done!
Learn More: How to Cut Out Stamped Images With Cricut
2. Ink blend the Cricut die cuts or stamped images
To start, secure your die cuts to your craft surface with a little tape or light daub of the glue runner. Begin by firmly rubbing the blending tool onto the ink pad. We suggest starting with a base color like brown or sepia for the deer, pea pod the squirrel, and the tree trunks. For the raccoon and owl, we used pebble beach, a cool grey/taupe color. In a smooth circular motion, blend the ink onto your paper with a brush.
To finish off your masterpiece, add vibrant green for the tree tops and fall colors for the leaves. For those smaller areas, like leaves, a detailing blending brush will be your secret weapon.
If you are NOT using Cricut die cuts, stamp all your images on a separate piece of white cardstock. Once the ink is dry, you can blend or color your stamped images. Be sure to space out the stamped impressions so that you can cut around them later.
Learn More: How to Ink a Rubber Stamp
3. Ink blend the card background
Start by blending a beautiful green ink on the bottom 1/3 of your card using circular motions. Don't be afraid to layer the ink to achieve a darker shade of green along the bottom edge.
Moving on to the middle 1/3 of your card, switch to a sepia or brown ink. This will add depth and dimension to your design.
For the final touch, let's bring in some mesmerizing blue! Apply a blue ink color at the top of your card, and don't forget to add extra layers along the top edge for a richer hue.
"There are no mistakes, just happy little accidents"
- Bob Ross
4. Stamp your images
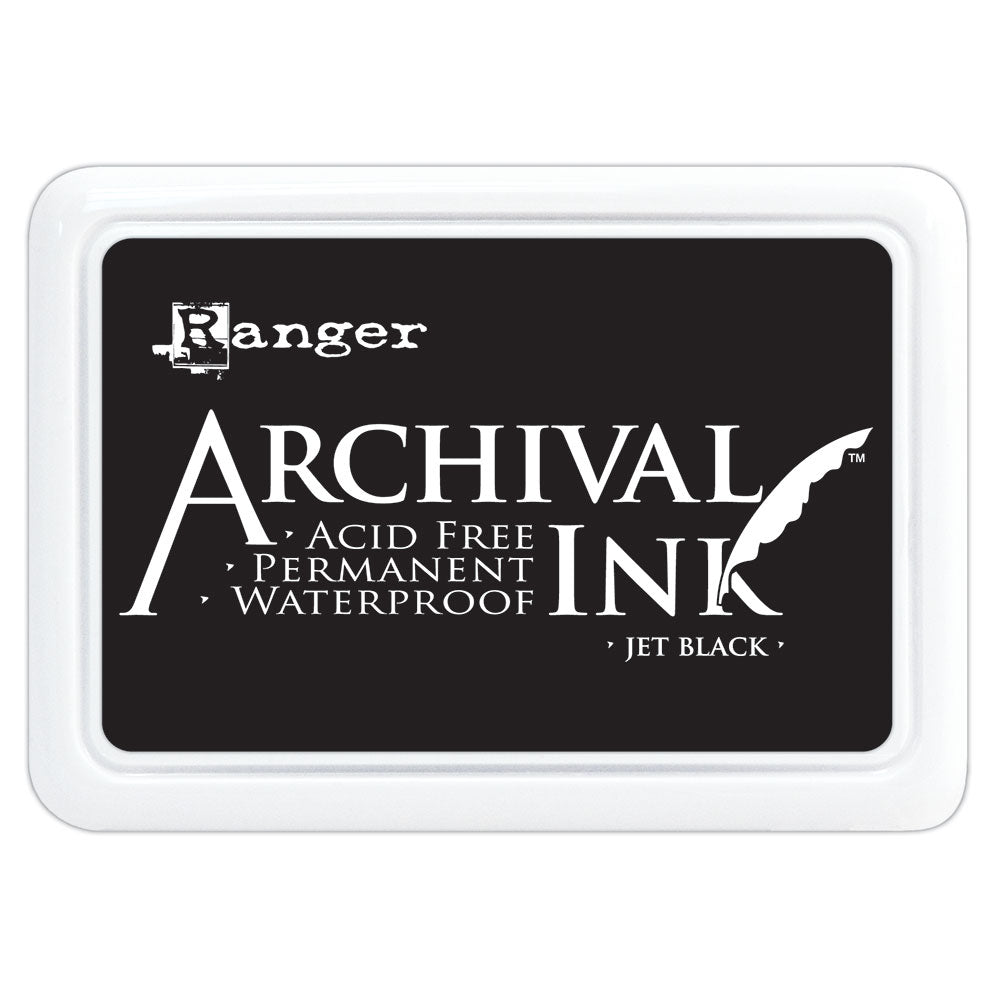
If you used a Cricut machine, now we will stamp your images onto the die cuts using Jet Black ink. If you already stamped your images on white card stock, now cut around the shapes using scissors.
Using clear stamps is easy, simply peel your stamp from it backing sheet and place it onto an acrylic stamp block. The photopolymer is slightly tacky, so your stamp can easily stick and be removed from your stamp block. Second, thoroughly ink your stamp with your ink pad and firmly press it onto the surface. Keep even pressure while stamping and don't rock the stamp!
5. Add detail
If you want to add more detail and artistic expression, use your art markers to add a little personality and style to these happy little forest critters and trees!
6. Assemble the card
Let's get creative and arrange your layout with all your cut-stamped images! Before you start gluing, gather all your elements together on your card to make sure you have the perfect layout and look you want.
Once you're happy with the placement, it's time to glue everything down. We recommend using a glue runner for a quick, easy, and mess-free application.
Tip: Want to take your card to the next level? Consider using 3D adhesive foam dots for a professional-looking 3-dimensional layering effect!
For the finishing touch, add a stamped greeting. We chose a Bob Ross quote - "No Mistakes, Just Happy Little Accidents" - to bring a smile to your baby shower card. Let's make it a happy, creative celebration!

Bob Ross - Happy Little Critters
Now you're ready to create your own Bob Ross-inspired baby shower greeting card for all your friends and family! Don't forget to follow our blog and socials. Show us your version of this card, or share a new creation with us! Tag us @RubberStamps_com and use #StampWithUS to enter our monthly giveaway! Winners receive a $25 credit to use at our shop!
Find More Inspiartion!
Featured Products

Archival Ink Pads - Library Green

Archival Ink Pads - Sepia

Mini Ink Blending Tool 1" Round (Includes 2 Tools/4 Foams)

Archival Ink Pads - French Ultramarine

Ranger Detail Blending Tool (Includes 5 Double Sided Tools)

Clear Acrylic Stamp Block

Bob Ross Quotes Bundle

Archival Ink Pads - Jet Black
HOW DO YOU STAMP?
#STAMPWITHUS
-
Posted in
Card Making, Party Planning


