Are you ready to add a personal touch to Valentine's Day this year? Crafting your own Valentine's Day card is not only a creative way to express your feelings, but it also adds that special sentimental value that store-bought cards lack. Sitting down with your craft supplies, and a sprinkle of creativity, you might find yourself reminiscing about your fondest memories with loved ones. In this post, Teal Kat Design will guide you through the steps to create a heartfelt and handmade card that you will have fun making and that your loved one will cherish.
Bonjour My Love: Make a Valentine's Card With Teal Kat Design
Greeting Card Materials:
Required Materials
- Happy Hello Clear Stamp Set
- Free Cricut File - Happy Hello
- Acrylic Stamp Block
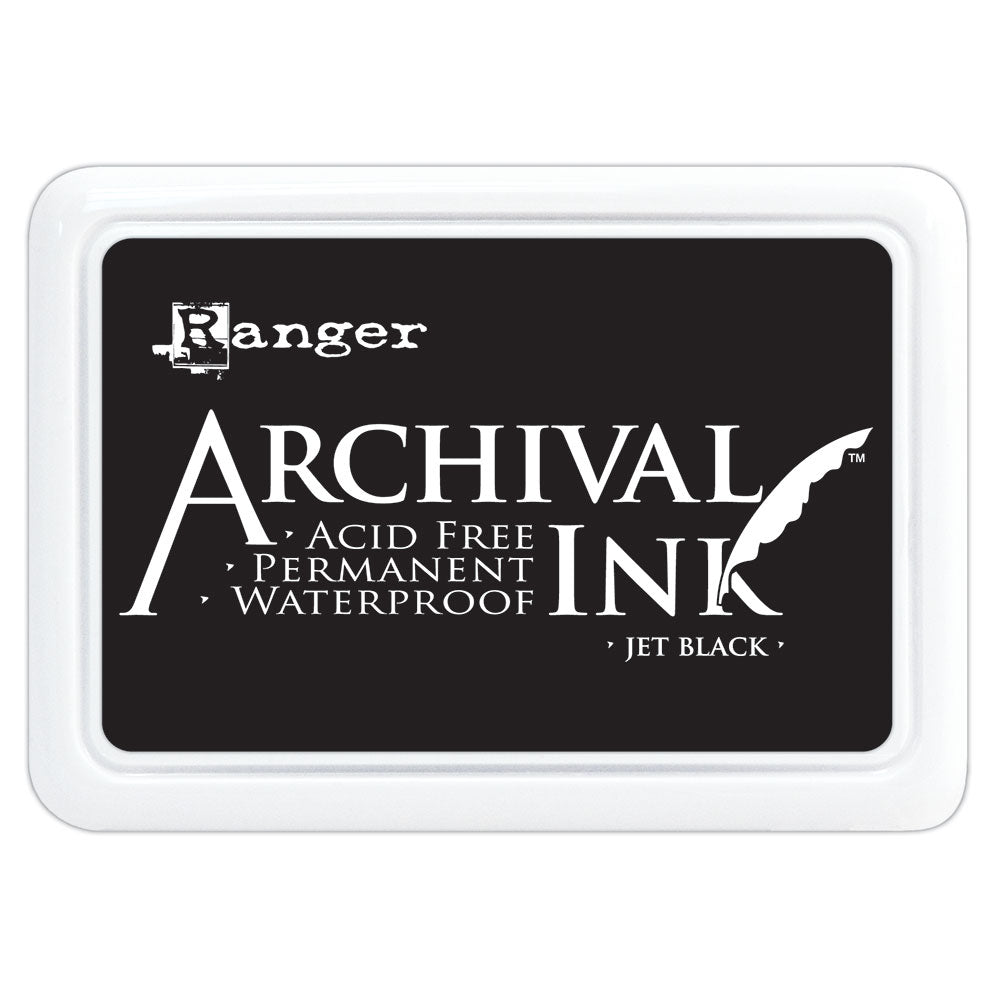
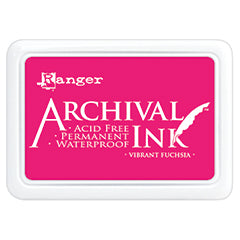
- Craft Ink Pads
- White Cardstock
- Heat Tool
- Embossing Powder
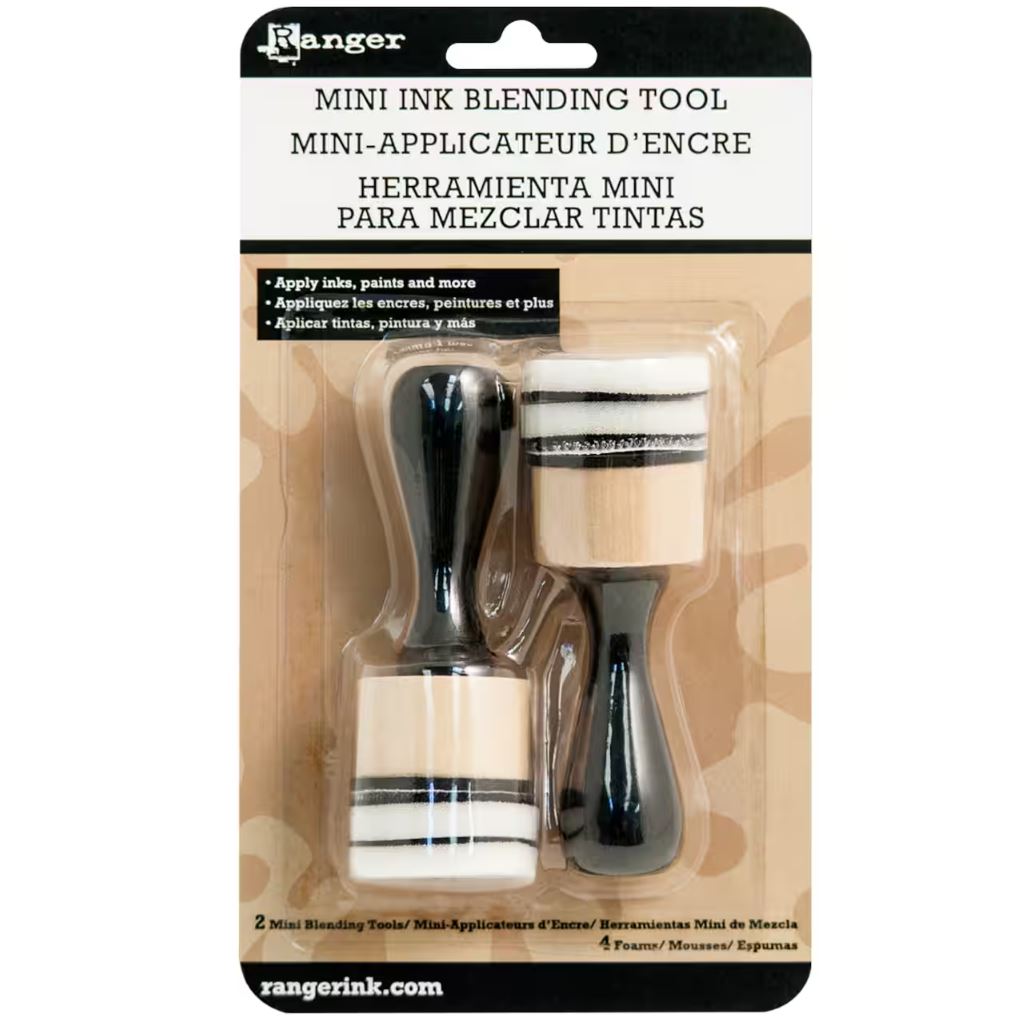
- Ink Blending Tool
- Craft Paper of Choice: Colors, Patterns, and Designs
- Glue
- Scissors or Cricut
- Envelope
Optional and Recommended Materials
- Glue Tape Runner
- Spray Mist Bottle
- Floral Hot Foil Plate and Gold Foil
- 3-D Styrofoam Dots
- Pearl Embellishments
- Tweezers
- Bone Folder
- Address Stamp
Mon Amour Valentine Card Instructions
1. Cut and stamp designs
To get started, gather all of your materials so you have them accessible.
If you have a Cricut machine, you can use the Happy Hello Cricut files to cut out your stamp images before inking. If you don't have a Cricut machine, place your white card stock onto a craft mat or paper to protect your surface.
Learn More: How to Cut Out Stamped Images With Cricut
Using clear stamps is easy, choose your sentiments from the stamp set. Then, simply peel your stamp from its backing sheet and place it onto an acrylic stamp block. The photopolymer is slightly tacky, so your stamp can easily stick and be removed from your stamp block.
Second, ink your stamp with the ink pad of your choice and stamp all the designs you want to use on the sheet of white card stock. Be sure to space out the stamped impressions so that you can cut around them later.
2. Optional: Emboss your sentiment
In this tutorial, Teal Kat Design used black craft ink and a clear embossing powder. Simply sprinkle your embossing powder over the wet ink and use a heat tool to set the powder. If this is your first time using embossing powder, check out our blog below: Heat embossing for beginners.
Learn More: Heat Embossing for Beginners
3. Blend the ink onto the face of the card
Next, select your ink colors for your background. Choose different shades of the same color pallet for a subtle gradient. In this example, red and pink colors were selected for Valentine's Day, but you could use shades of blue for Father's Day or yellow for a happy card to send a friend.
Start blending your ink by rubbing your blending tool into the ink pad in a circular motion. Also using a circular motion, with medium pressure, rub your blending tool onto your paper.
Craft Tip: Start at the top and work your way down the card. Blend ink onto the top 1/3 of your paper. Re-ink your blending tool as needed.
Once the top 1/3 of your paper is blended, select your next shade and blend the next section. Repeat with the bottom 1/3 of your third ink color. Now, the face of your card should have a vibrant blended gradient that covers the paper.
4. Optional: Use a spray mister for texture
If you have a spray mist bottle, mist water over your card to create a water droplet texture. Gently daub excess water droplets with a paper towel or coffee filter.
5. Ink blend over your sentiment
Using the Ink blending technique we just used for the card, select a color to blend over your stamped or embossed sentiment.
Craft Tip: If you opted out of heat embossing, make sure your ink is dry before blending.
6. Hot foil plate
Next, use a floral hot foil plate, or any design of your choice to add the gold foil design to the front of your card.
If you do not have a hot foil plate for this step, try using a large floral stamp with gold pigment ink. You could also use gold embossing powder for best results.
6. Assemble the card
Now it's time to put it all together! Using styrofoam adhesive dots, secure your sentiment to your card. Add some extra embellishments with adhesive gems or pearls to your card. Finally, sit back and admire your creation. Be proud of yourself for what you made!

Happy Hello by Teal Kat Design
HOW DO YOU STAMP?
#STAMPWITHUS
Now you're ready to create your Valentine's Day greeting card for all loved ones and friends! Don't forget to follow our blog, socials, and check out Teal Kat Design! Show us your version of this card, or share a new creation with us! Tag us @RubberStamps_com and use #StampWithUS to enter our monthly giveaway! Winners receive a $25 credit to use at our shop!
Sentiment ideas from the Happy Hello clear stamp set
- Hello beautiful
- Hola mi amigo
- Bonjour mon amour
- Hola bestie
- Bonjour handsome
Find More Inspiartion!
Featured Products
-
Posted in
Card Making, Valentine's Day


