If you're looking for something special to do this fall season, why not try making your own Fall holiday cards? It's a wonderful way to showcase your creativity and make a memorable card that will stay with the recipient long after they celebrate. With just some basic crafting supplies and modern-day resources, you can easily find creative ways to create one-of-a-kind cards that reflect your style or match any particular theme. From Thanksgiving greetings to Halloween wishes - the handcrafted possibilities are endless! Read on for tips on how to begin crafting your very own Fall holiday card!
Make Your Own Fall Holiday Card
Greeting Card Materials:
Required Materials
- "Blessed and Thankful" Clear Stamp Set
- Free Cricut File - "Blessed and Thankful"
- Acrylic Stamp Block
- Craft Ink Pads
- Ink Blending Tool
- Alcohol Art Markers
- White Cardstock
- Brown Cardstock
- Craft Paper of Choice: Colors, Patterns, and Designs
- Glue
- Scissors or Cricut
- Envelope
Optional and Recommended Materials
Fall Holiday "Blessed and Thankful" Instructions
1. Stamp designs onto white cardstock
To get started, gather all of your materials so you have them accessible.
If you have a Cricut machine, you can use the Blessed and Thankful file to cut out your stamp images before inking. If you don't have a Cricut machine, place your white card stock onto a craft mat or paper to protect your surface.
Learn More: How to Cut Out Stamped Images With Cricut
Using clear stamps is easy, simply peel your stamp from it backing sheet and place it onto an acrylic stamp block. The photopolymer is slightly tacky, so your stamp can easily stick and be removed from your stamp block.
Second, ink your stamp by patting the ink pad over your clear stamp.
Stamp all the designs you want to use on the sheet of white card stock. Be sure to space out the stamped impressions so that you can cut around them.
2. Create the woodgrain texture
For the wood background, you can download a tree trunk pattern and let your Cricut machine draw the pattern on the brown cardstock.
If you don't have a Cricut machine, you can easily draw the wood grain texture by hand. Feel free to practice drawing this pattern on scrap paper to plan out your design.
Finally, using a corner rounder if you have one, round out your tree trunk sheet.
3. Color your stamps
Now it's time to add color to your stamped impressions! For this project, we used archival ink pads and the blending tool to ensure a smooth spread of colors.
Tip: If you are just getting started, a basic sponge will help get you started with blending your colors. But the advantage of using blending tools is that you can replace the Velcro sponge with different colors! This way you don't mix any dark colors in with your light color ink.
Important notes for stamp coloring:
- Test your color on a part of the paper you are not using, like a top or bottom corner.
- Start with your base color or the main color of your object or animal.
Learn More: How to ink blend for beginners
"When ink blending, begin with the base color. The base color is the main color of what an animal or object looks like."
4. Blend edges of card background
Blend the edges around your card with darker colors to create dimension for the tree trunk background. Take a slightly darker color than your base color and lightly shade in where the shadows would be. Use minimal pressure to start. You can always darken the shadow with more layering but cannot remove additional shading once you've added it.
5. Stamp your Cricut die cuts
If you used a Cricut for die cuts, now stamp your images onto your ink-blended die cuts. The clear acrylic stamp block is transparent for precise stamping. Full saturate your stamp with ink and firmly press onto the paper. Be sure to aviod any rocking of the stamp and maintain even pressure.
Learn More: How to Ink a Rubber Stamp
6. Assemble the card
If you still need to cut out your stamped images, do that now with scissors or exacto-knife. Arrange the cutouts on the card to your liking before you glue them all down. Once you are happy with the placement, secure all your pieces with glue or a glue runner.
7. Optional: Add embellishments
If you want to add a 3D effect to raise some elements on your card, simply use adhesive styrofoam dots. Place them on the back of the element you want to be raised, and secure them to your card for a 3-dimensional effect, just like a pro! You can also add your choice of adhesive gems or pearls for extra personality.
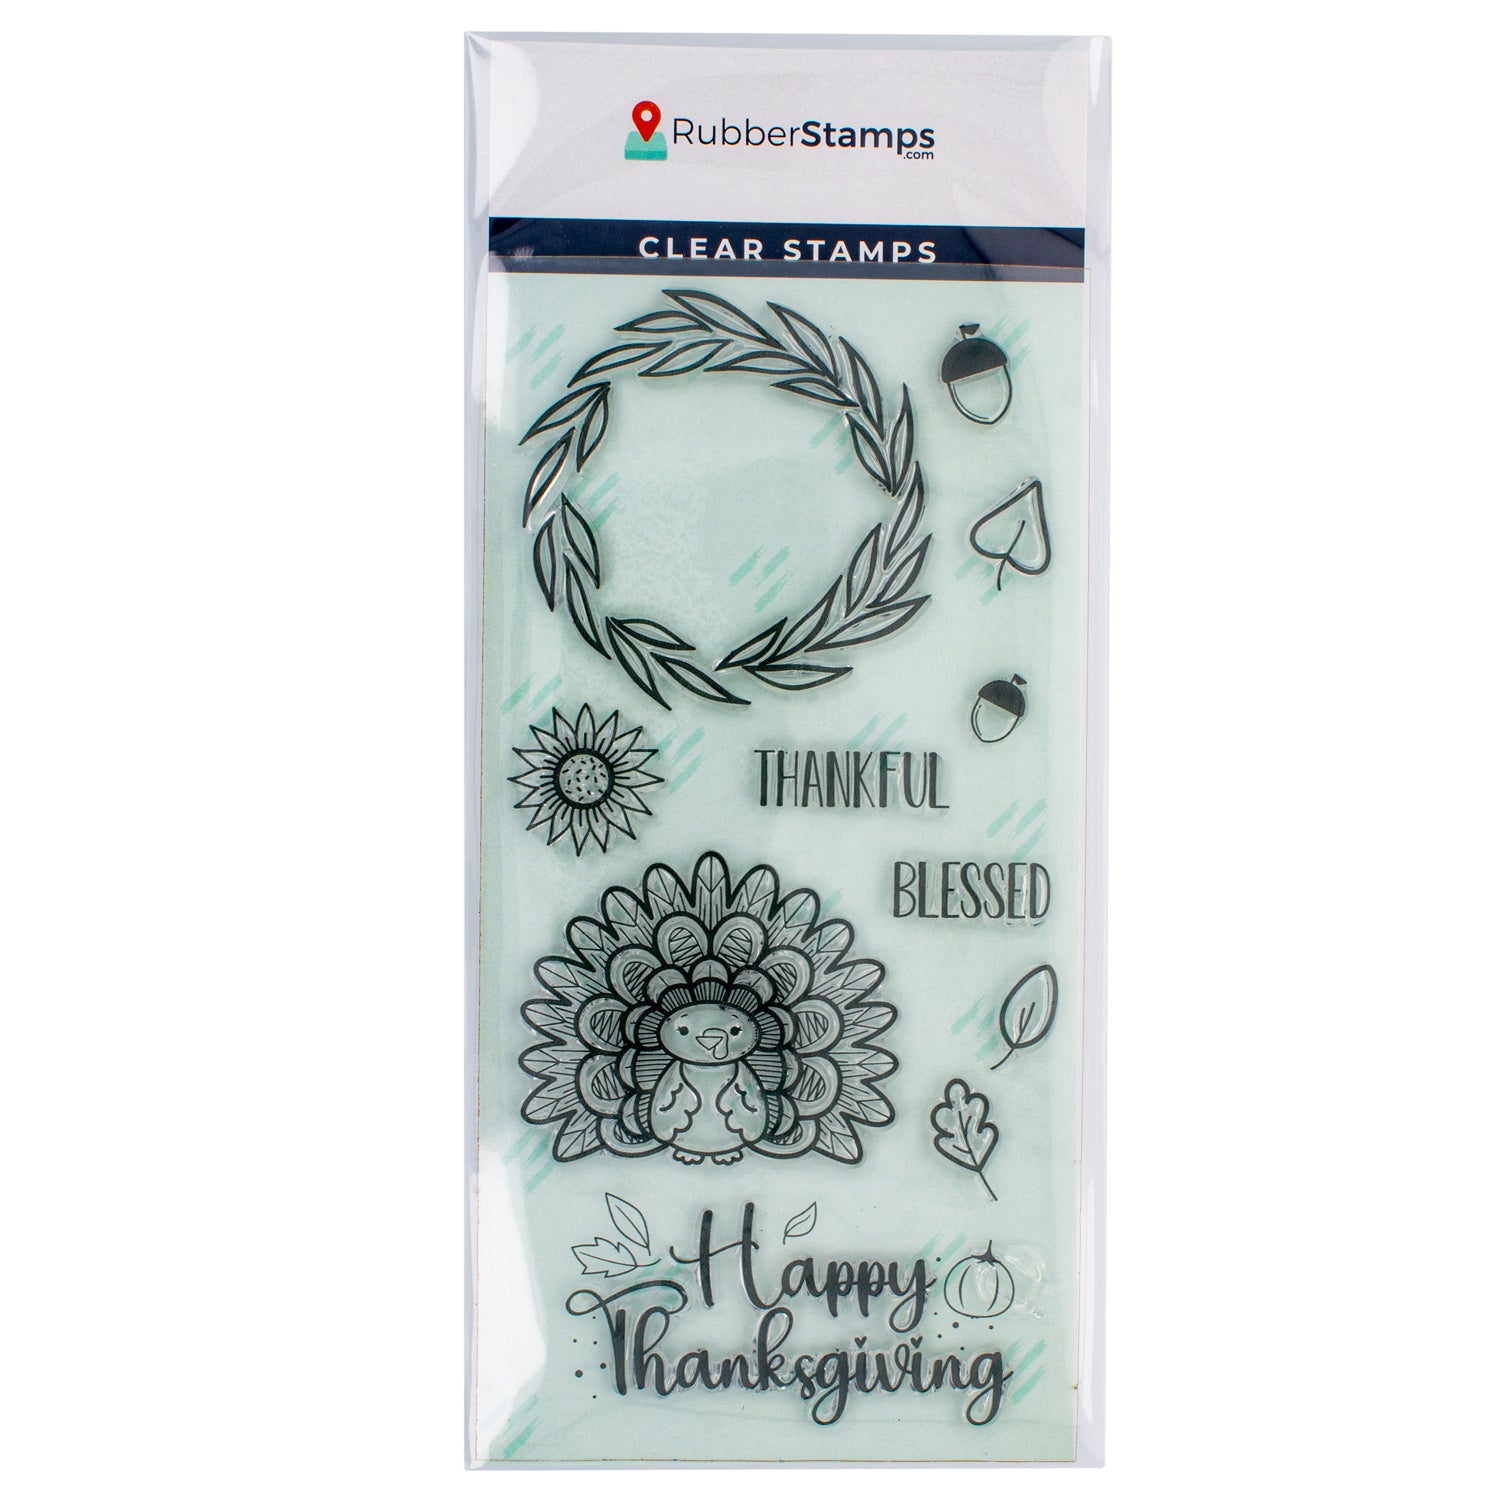
Blessed And Thankful
Now you're ready to create your own fall holiday greeting card this season! Don't forget to follow our blog and socials. Show us your version of this card, or share a new creation with us! Tag us @RubberStamps_com and use #StampWithUS to enter our monthly giveaway! Winners receive a $25 credit to use at our shop!
Popular greetings for Fall sentiments
- So Very Thankful
- Blessed and Thankful
- Thankful for You
- Be Thankful
- Live With Gratitude
More Inspiration For Fall!
Featured Products
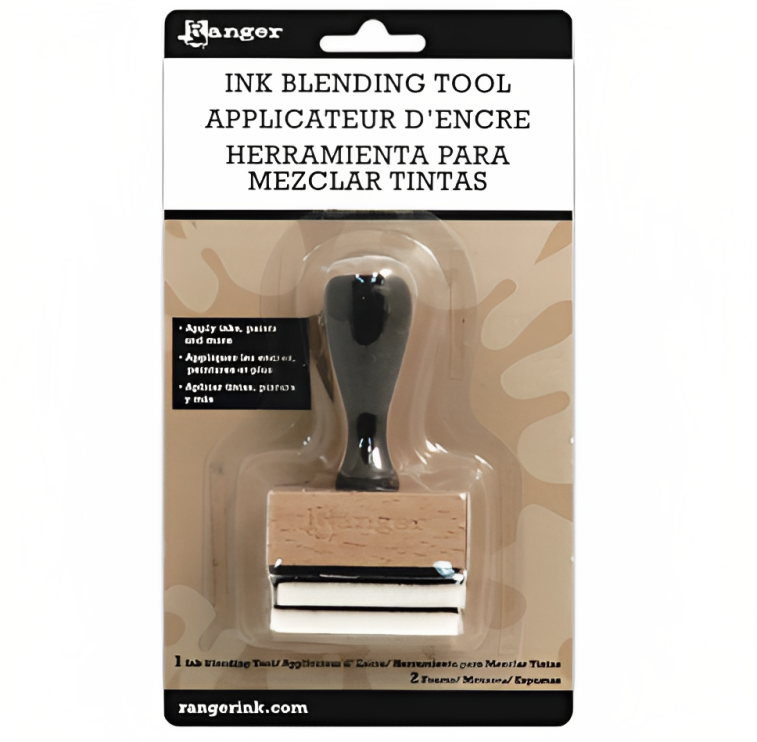
Ink Blending Tool (plus 2 foams)
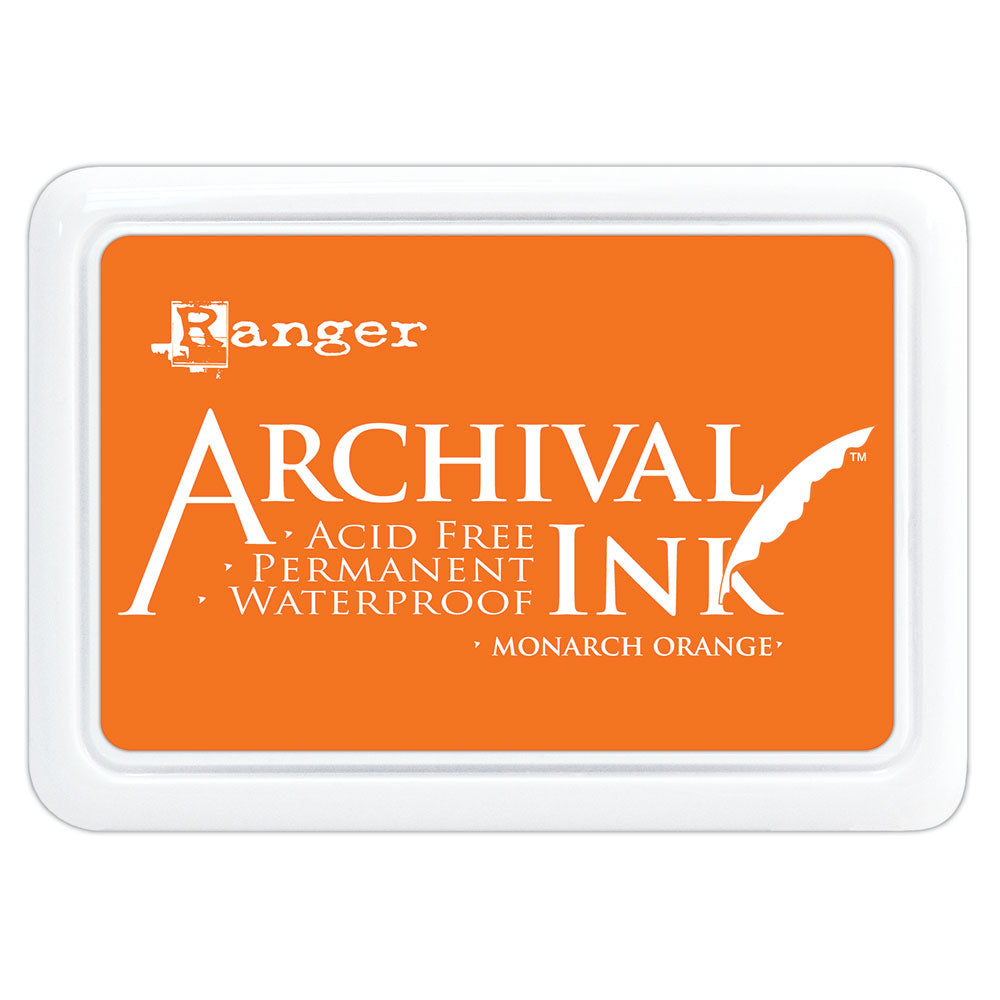
Archival Ink Pads - Monarch Orange

Archival Ink Pads - Sepia

Archival Ink Pads - Coffee
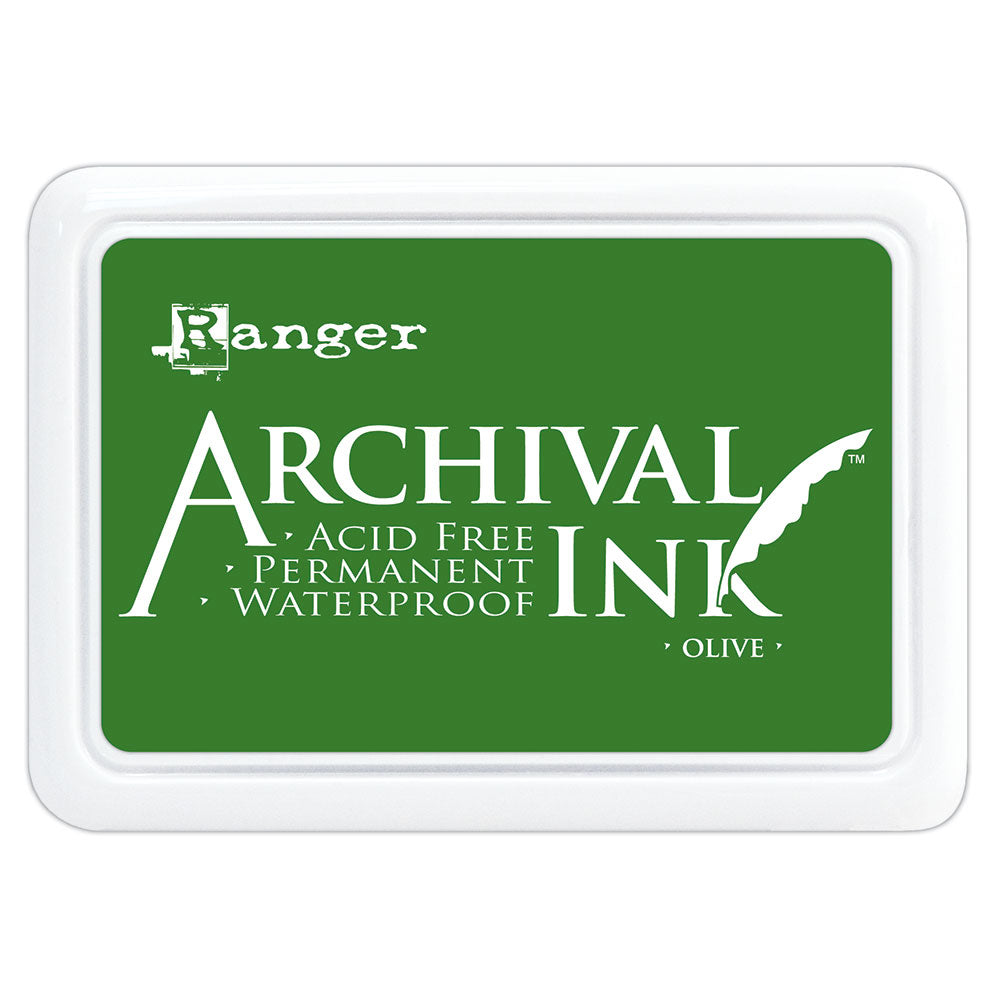
Archival Ink Pads - Olive
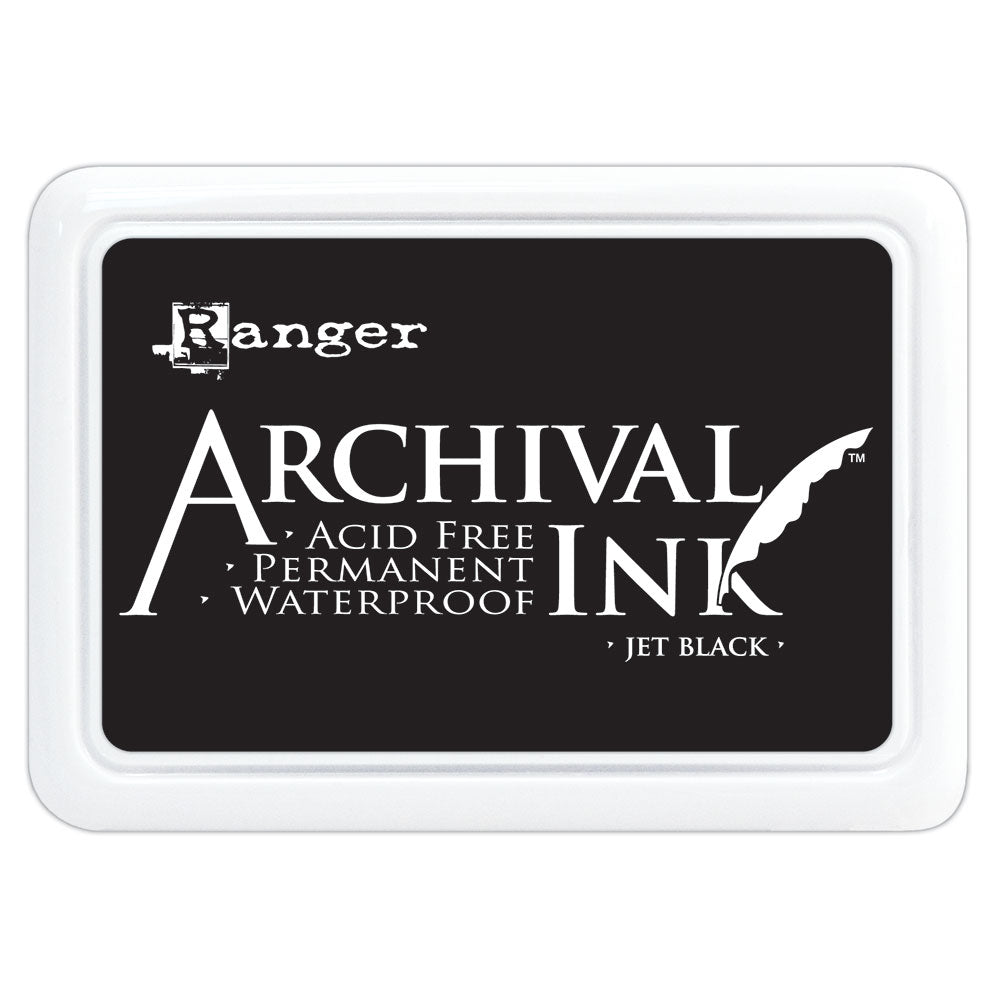
Archival Ink Pads - Jet Black

Clear Acrylic Stamp Block
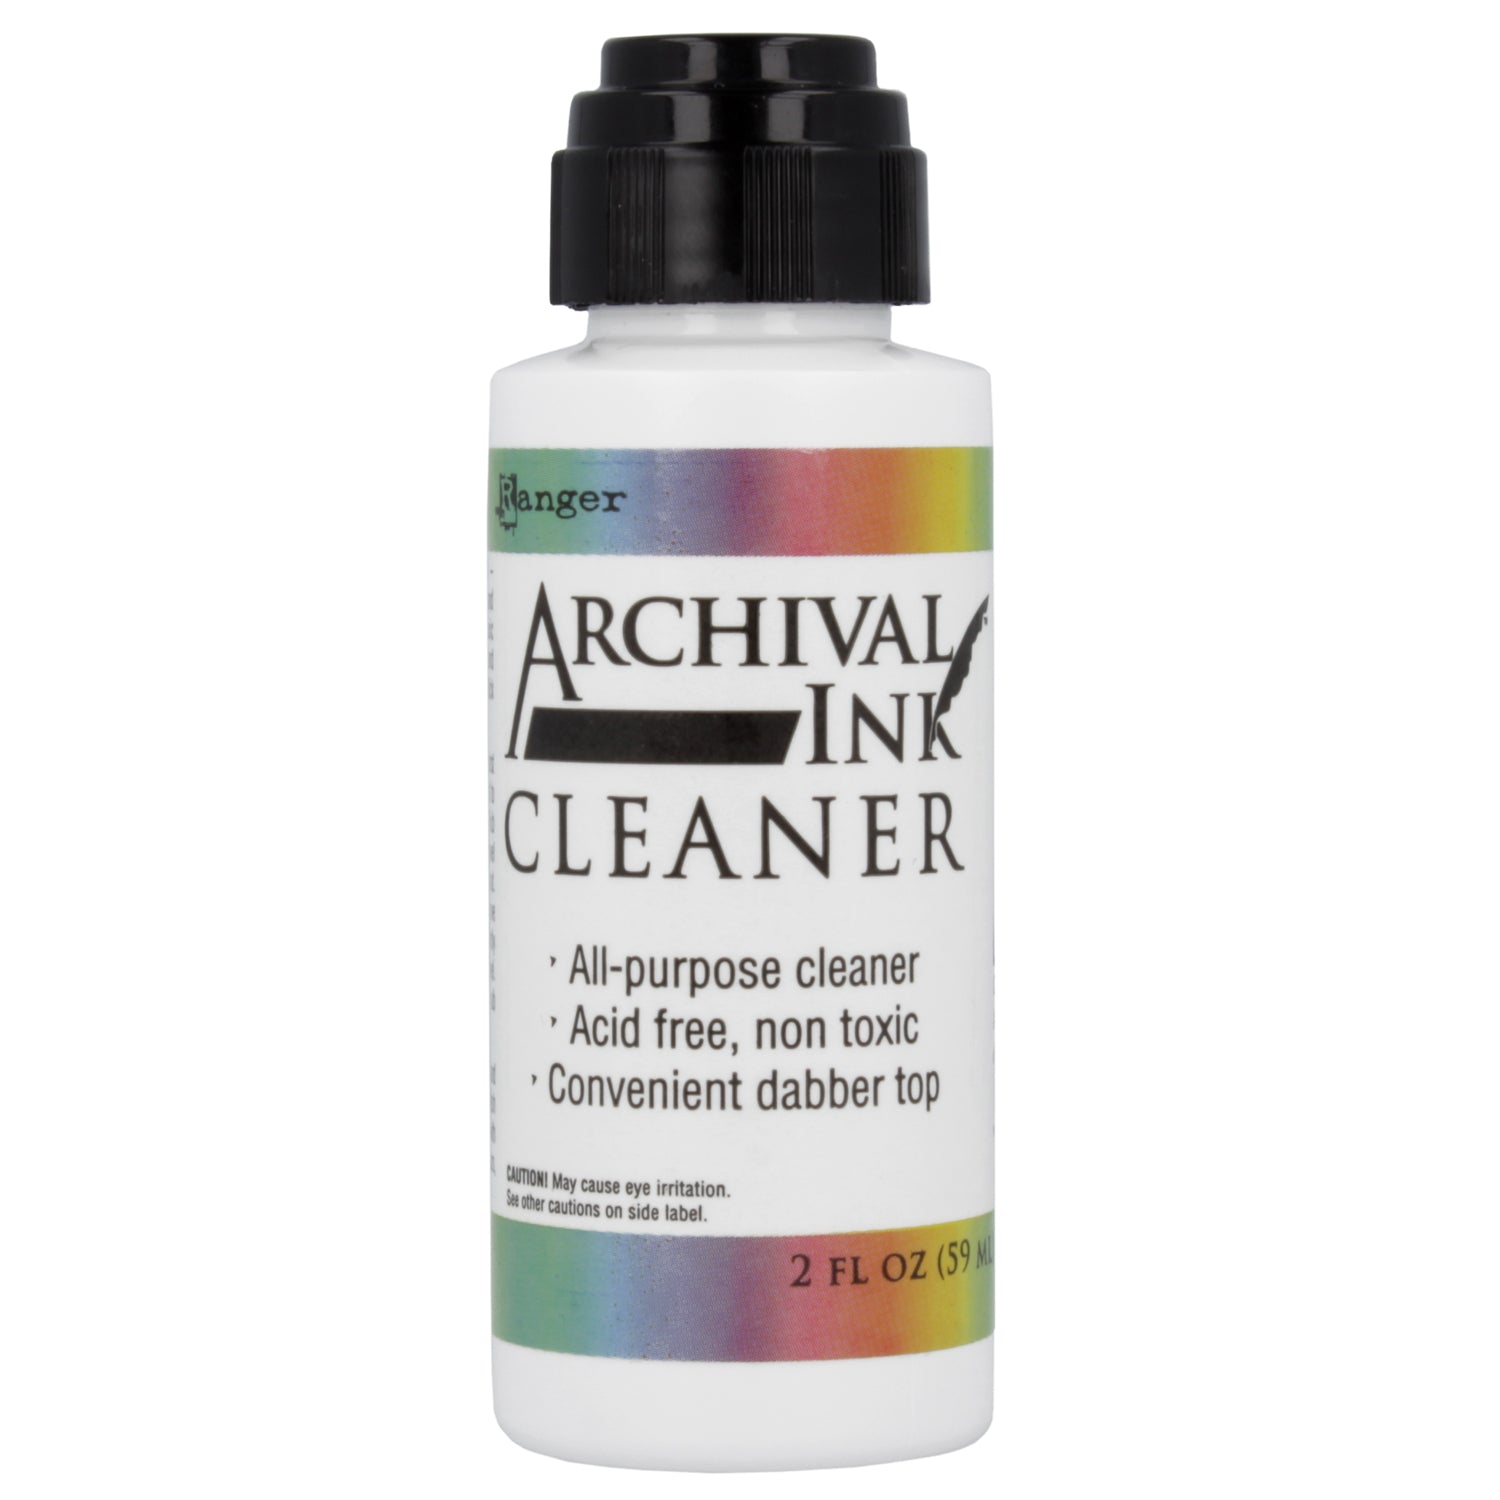
Archival Ink Cleaner
HOW DO YOU STAMP?
#STAMPWITHUS
-
Posted in
Card Making, Thanksgiving


