Are you ready to spread some holiday cheer but unsure where to start? Look no further than with stamps! These stunning clear stamps can completely transform any piece of paper into a festive work of art. If you're looking to add a special touch to your holiday cards this year, using stamps is a fun and creative way to do so. Not only do stamps come in various designs and themes, but they also give your card a unique and personalized look. So let's get started on making the perfect holiday card!
How to Make a Cute Peek-a-Boo Card: Holiday Edition
Greeting Card Materials:
Required Materials
- Two Styles of Cardstock
- Free Cricut File - Gingerbread Kisses & Christmas Wishes
- Clear Stamp Set - Gingerbread Kisses & Christmas Wishes
- Acrylic Stamp Block
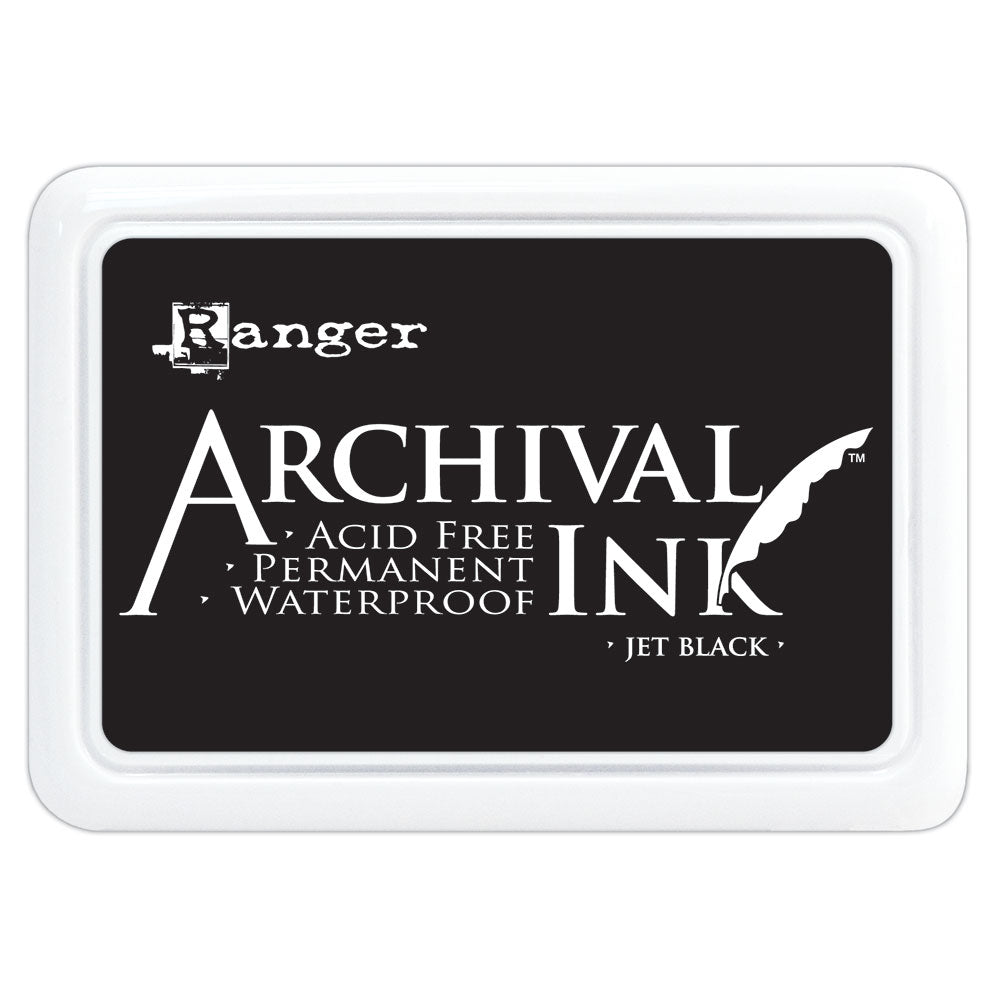
- Craft Ink Pads
- White Cardstock
- Glue
- Scissors or Cricut
- Envelope
Optional and Recommended Materials
- Alcohol-Based Markers
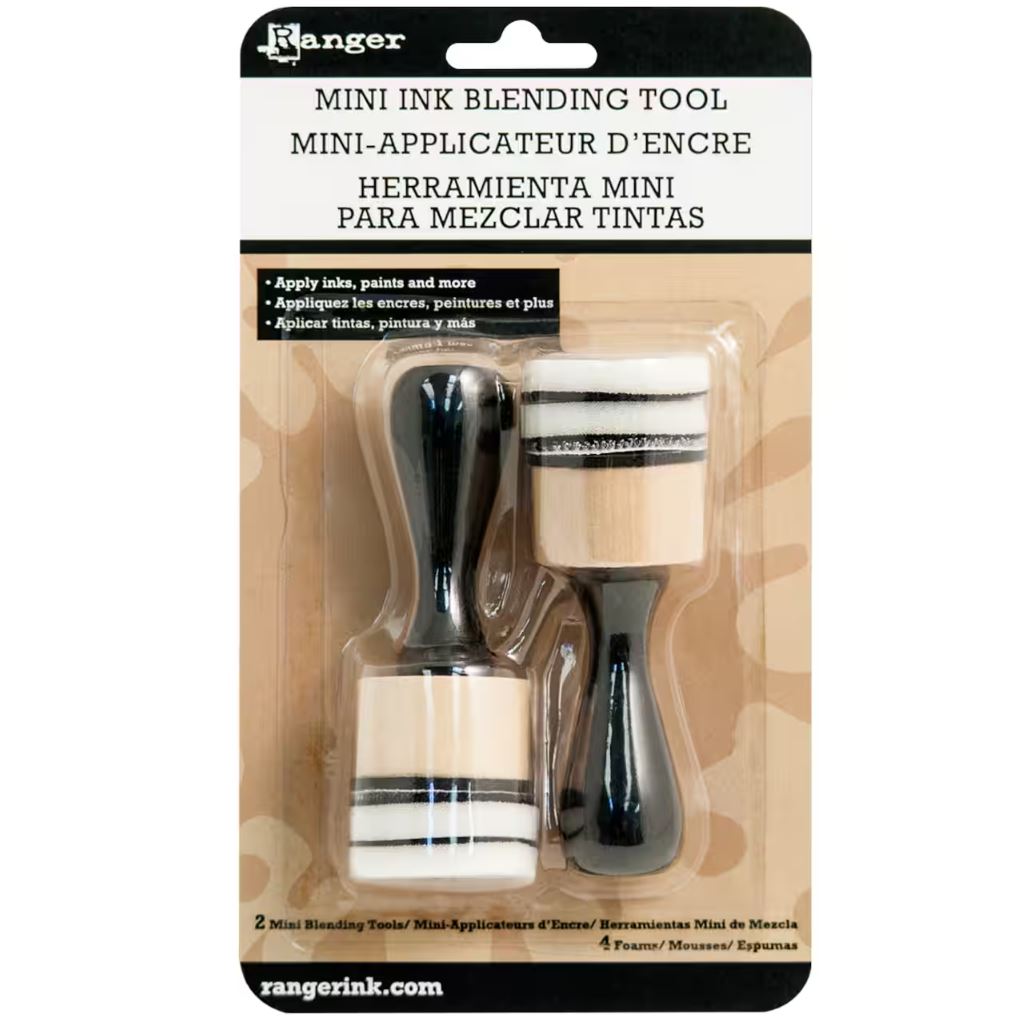
- Ink Blending Tool
- Glue Tape Runner
- Gelly Roll White Gel Pen
- 3-D Styrofoam Dots
- Pearl Embellishments
- Tweezers
- Bone Folder
- Address Stamp
Gingerbread Card "Baking Spirits Bright" Instructions
1. Prep card for peek-a-boo window
Let's get crafty! Start by cutting Style "A" of your cardstock to the size you choose. This will be the bottom layer that adds a fun peek-a-boo element.
Then, choose another festive cardstock as our style "B". We'll be cutting a circle (or any shape you like) out of festive style "B" paper. These two paper layers will create a cool sandwich effect when we assemble the Gingerbread People later on. Exciting, right? Let's keep going!
Learn More: How to Cut Out Stamped Images With Cricut
2. Color your Gingerbread People
Stamp your gingerbread people onto the gingerbread people cutouts. If you don't have a Cricut Machine to cut the shapes out for you, simply use the gingerbread person outline stamp, ink it onto a piece of cardstock, and cut!
Then, using one of your brown ink pads, fill your cutouts with the desired amount of color.
Tip: We recommend using a blending tool as shown in the video or sponge material to apply the ink smoothly.
Important notes for stamp coloring:
- Test your color on a part of the paper you are not using, like a top or bottom corner.
- Start with your base color or the main color of your object or animal.
Next, stamp your gingerbread cutouts with the mix-and-match outfit stamps. We recommend using a darker shade of brown or black for more visibility. Add some splashes of color by using some red and green markers to fill in any buttons, scarves, etc.
3. Elements and Greetings
The Gingerbread Kisses & Christmas Wishes stamp set has awesome greetings and elements like peppermints you can add to your card! Add a splash of red or gold with the peppermint stamps and them onto cardstock, then cut them out! Repeat with the seasonal greeting clear stamp.
Tip: If you are looking for a metallic effect, try embossing with metallic embossing powder or using metallic ink.
5. Assemble the card
Finally, we've stamped, designed, and cut out all our gingerbread people and other elements. It's time to assemble our gingerbreads to peek through the window of our card. First, loosely place your gingerbread people to visualize how you want them to look. Use the cardstock with the circle cut out to assist with your visualization.
Once you've found a layout that you like, you will glue your gingerbread people right onto the cover of the card. This will take patience but it will look amazing!
Tip: Place all of your elements together on your card to ensure the layout and look you want before you start gluing pieces down.
6. Add the 3D Peek-a-boo Window for effect
If you want to add a 3D effect your your card, so that some elements are raised on the face of the card, simply use adhesive styrofoam dots. Place them on the back of the element you want to be raised, and place them into your card for a 3-dimensional effect, just like a pro! For this card, we decided to raise our peek-a-boo window layer for a shadow box effect.
Lastly, attach your stamped greeting and your card is complete!
4. Optional: Add additional detail
Add additional details with lighter colors. For example in this project, you can draw some snow flakes around the card for more winter ambience!
Now you're ready to create your own festive peek-a-boo greeting card for all your friends! Don't forget to follow our blog and socials. Show us your version of this card, or share a new creation with us! Tag us @RubberStamps_com and use #StampWithUS to enter our monthly giveaway! Winners receive a $25 credit to use at our shop!
Find More Inspiartion!
Featured Products

Gingerbread Kisses & Christmas Wishes

Archival Ink Pads - Sepia

Mini Ink Blending Tool 1" Round (Includes 2 Tools/4 Foams)

Archival Ink Pads - Jet Black
HOW DO YOU STAMP?
#STAMPWITHUS
-
Posted in
Card Making, Christmas


