It's time to hop into the Spring season with delightful DIY creations. Join us on an enchanting journey as we unveil the secrets to crafting your very own Peter Rabbit-inspired greeting card. This elegant card is guaranteed to sprinkle joy and cheer wherever it goes. So gather your crafting supplies and let's bounce into this springtime adventure with a whimsical rabbit as our guide!
Hop Into Spring With a Peter Rabbit Inspired Garden Greeting!
Greeting Card Materials:
Required Materials
- Tulip Blessings Clear Stamp Set
- Free Cricut File - Tulip Blessings
- Acrylic Stamp Block
- Craft Ink Pads
- White Cardstock
- Bunny Cardstock
- Watercolors
- Glue
- Scissors or Cricut
- Envelope
Spring Peter Rabit Inspired Greeting Card Instructions
1. Cut oval peep hole shape
To get started, gather all of your materials so you have them accessible.
Begin by trimming your bunny paper to match the dimensions of your greeting card. If you have a Cricut machine, you can use that to cut an oval shape out of your rabbit pattern paper. If you don't have a Cricut machine, use an object with an oval shape as a template for tracing and cutting with scissors, or attempt free-hand cutting to the best of your ability. Be sure to place your card stock onto a craft mat to protect your surface.
Learn More: How to Cut Out Stamped Images With Cricut
2. Ink-blend the base layer
Now that your oval peephole is cut out of your bunny paper, cut your white card stock to the same size. This will be your base layer and will be placed behind your rabbit paper at the end.
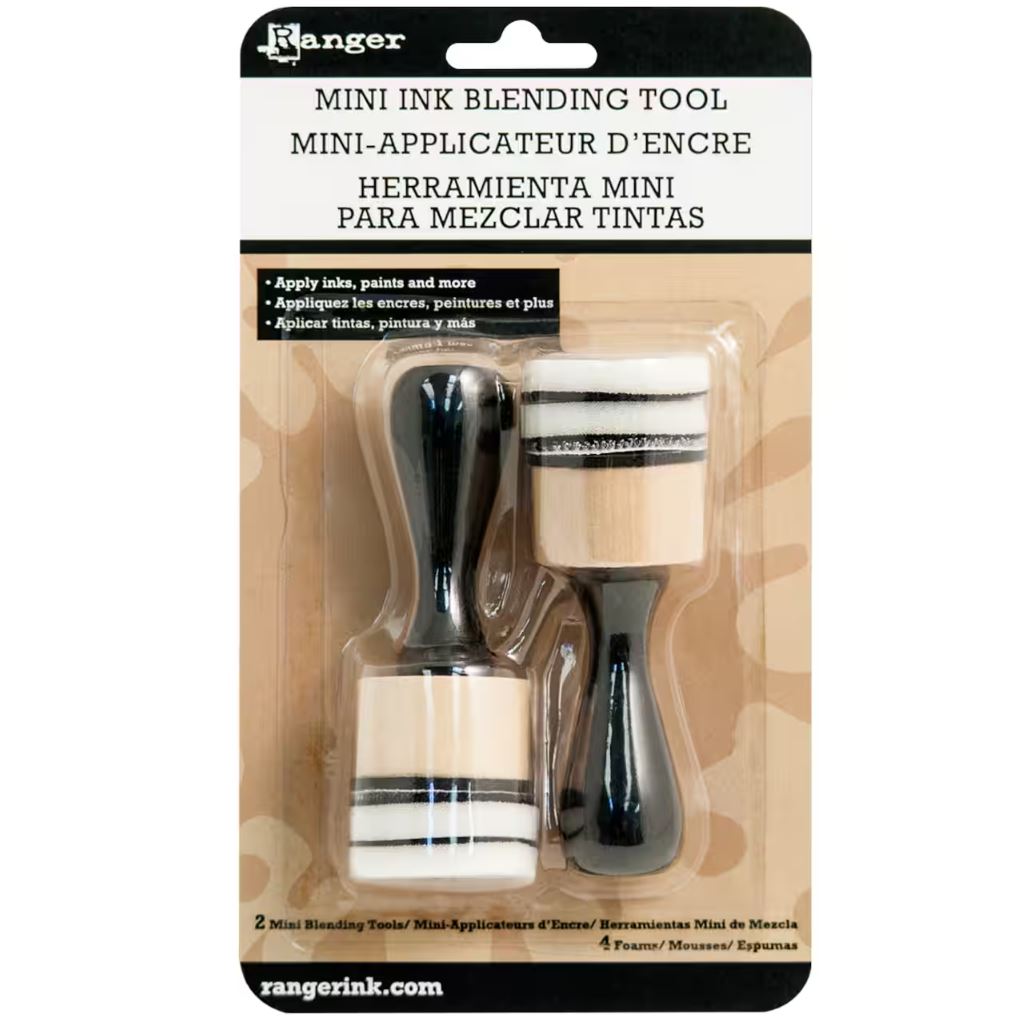
But, before you adhere these two pieces together, we need to decorate our base layer first! We started by using the mini ink blending tool and the Aquamarine Archival Ink Pad to add a blended blue color to the center of the cardstock.
Start using your ink blending tool in the center and in a circular motion blend outwards, leaving a border of white. You should end up with a blue gradient oval in the center.
Pro Tip: Use a small amount of the tape glue runner to tack your white cardstock to your craft mat so it doesn't move when ink blending and stamping.
3. Color the tulips with watercolor
To begin crafting your tulips, begin by selecting your watercolors and a second piece of white card stock or watercolor paper cut to size. Visualize the shape and positioning of the leaves, gently applying watercolor onto the paper. Aim for an organic appearance, as we'll later overlay a black outline to enhance the artistic effect. Once your leaves are formed, cleanse your brush and repeat this technique to apply your preferred color for the tulip petals.
4. Stamp your tulips over the watercolor
Using clear stamps is easy, simply peel your stamp from it backing sheet and place it onto an acrylic stamp block. The photopolymer is slightly tacky, so your stamp can easily stick and be removed from your stamp block.
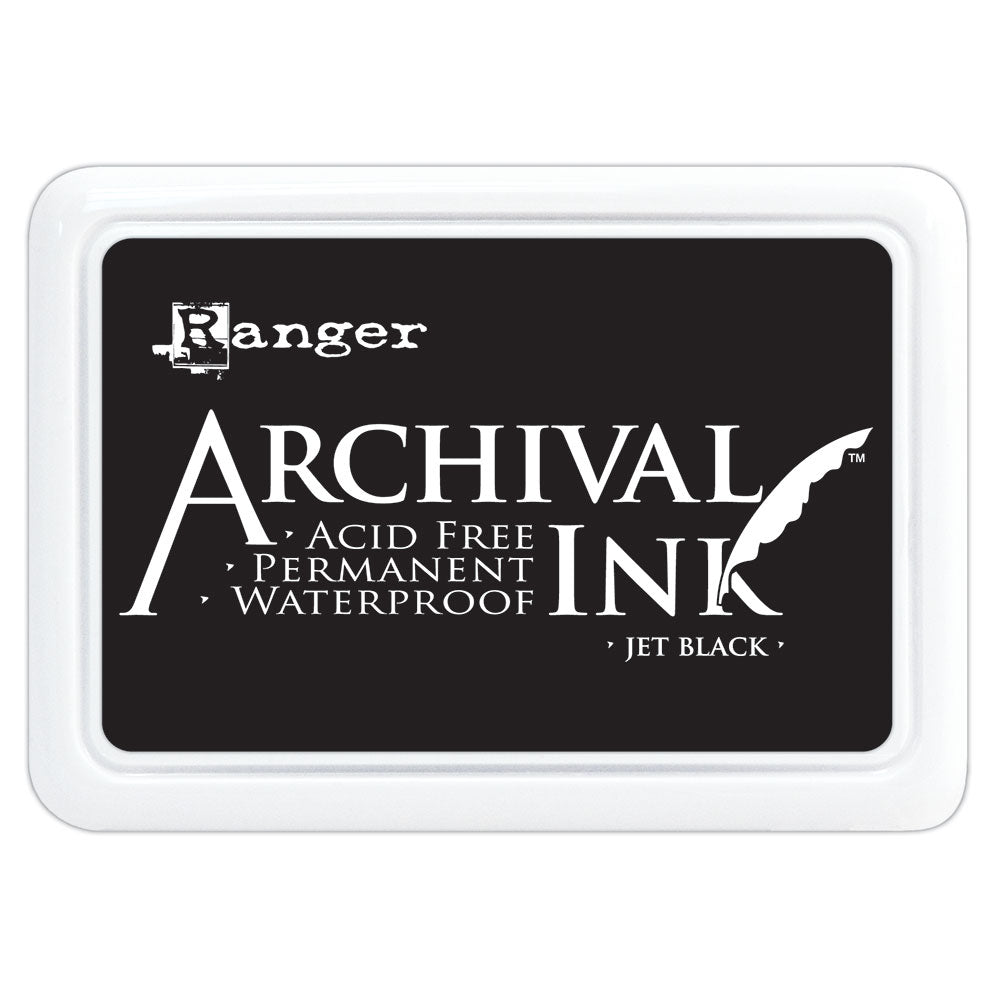
Second, ink your stamp with the ink pad of your choice. In this project, we are using black archival ink. Because we are working with multi-media and a water-based material, the archival ink won't bleed into the watercolors, leaving you with a crisp and clean impression.
Line up your stamp over the watercolored shape and press down firmly for a few seconds. Be sure to lift your stamp straight up to ensure the ink doesn't smear. Repeat this process with each tulip.
Once all your tulips are stamped, cut around their shape with scissors.
4. Optional: add more dimension
This step is optional, but we added more stamped tulip impressions onto the blue-shaded oval paper. Utilizing the identical aquamarine ink shade, we added extra depth to ensure that when all the layers are assembled, the tulips appear shadowed or simulate a masking effect.
5. Assemble card
Now it's time to put all your elements together! Before you adhere any of your pieces, lay out your design first. Don't forget to also leave space for your sentiment or greeting message.
Pro tip: Cut out additional bunnies from the rabbit paper to include as repeated elements within your peep oval window.
Once you are satisfied with your layout, secure the pieces with your glue runner and stamp your greeting onto the card.
Pro tip: Use 3d foam adhesive dots to create additional dimension for layering your stamped elements and the peep window.
Finally, attach the front of your card to the folded paper of equal size to achieve the finished greeting card appearance!
Now you're ready to create your own Peter Rabbit Inspired greeting card for all your friends! Don't forget to follow our blog and socials. Show us your version of this card, or share a new creation with us! Tag us @RubberStamps_com and use #StampWithUS to enter our monthly giveaway! Winners receive a $25 credit to use at our shop!
Tulip Blessings Sentiment Ideas
- Bloom With Blessings
- Grow With Grace
- Grow Your Belssings
- Bloom With Hope


