Step into a universe of love and interstellar celebrations! We are thrilled to guide you through the creation of an otherworldly delight. Imagine receiving a card that sends warm wishes but also glows with extraterrestrial charm. Whether you're expressing love on Valentine's Day or celebrating a birthday, this DIY project promises to illuminate the heart of your loved ones.
Glow in the Dark Alien Card for Valentines Day or Birthday
Greeting Card Materials:
Required Materials
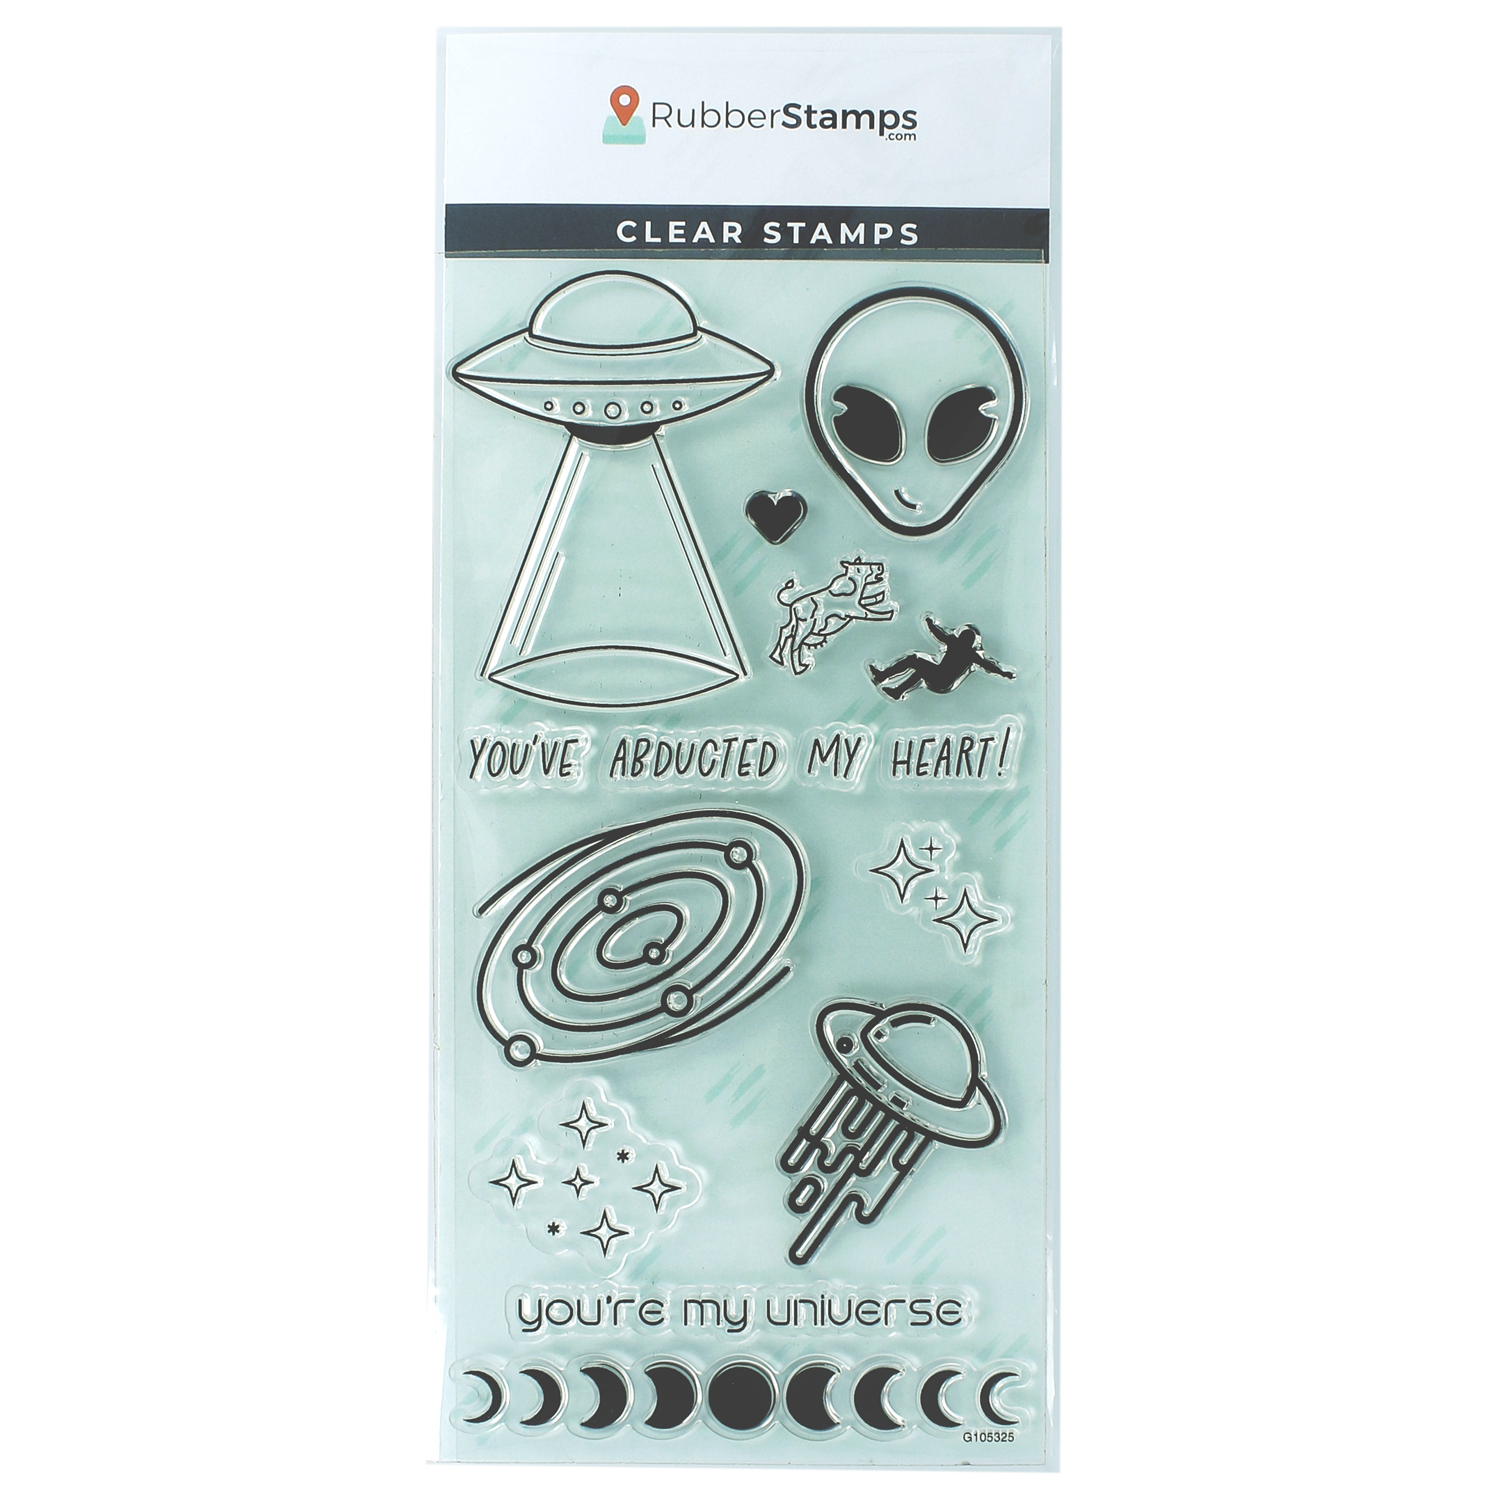
- I've Been Abducted Clear Stamp Set
- Free Cricut File - I've Been Abducted
- Acrylic Stamp Block
- Craft Ink Pads
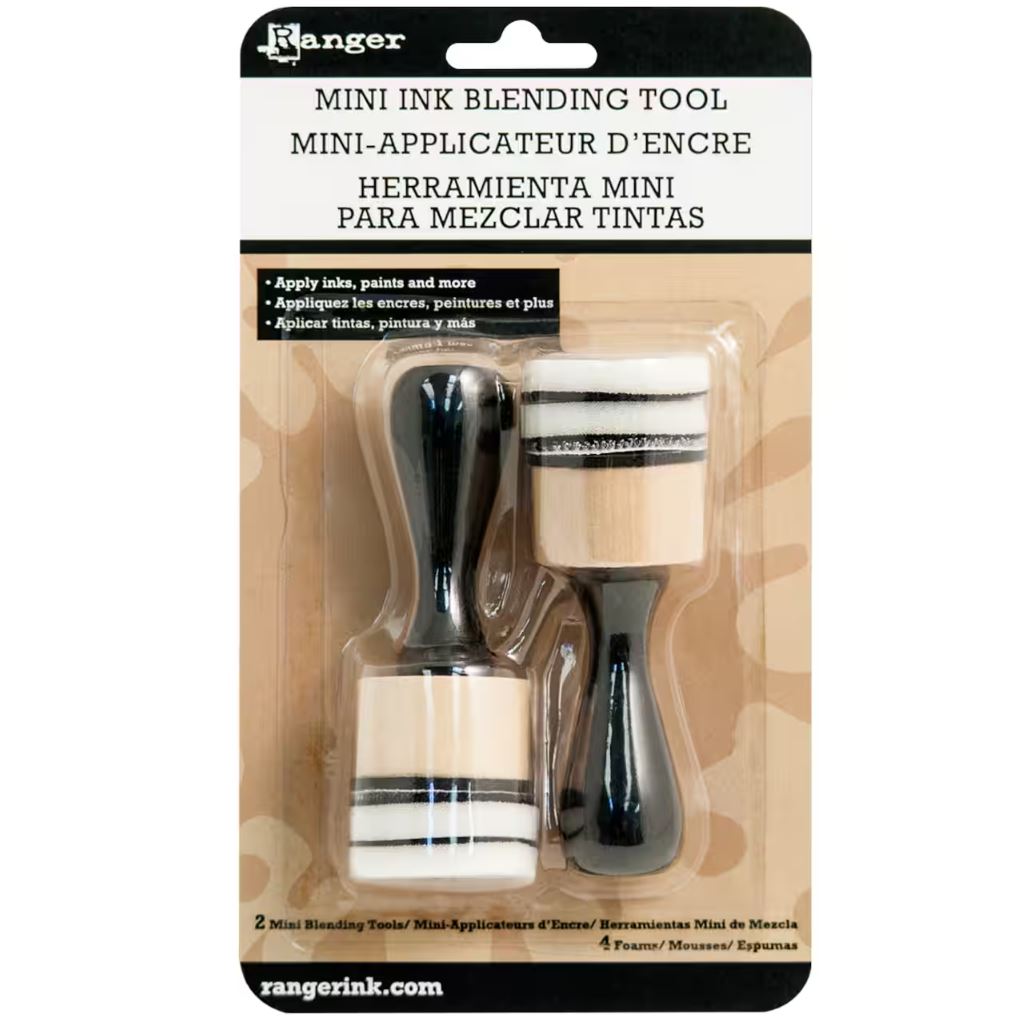
- Ink Blending Tools
- White Cardstock
- Heat Tool
- Embossing Powder
- Craft Paper of Choice: Colors, Patterns, and Designs
- Glue
- Scissors or Cricut
Optional and Recommended Materials
Glow-in-dark "I've Been Abducted" Instructions
1. Cut Out Stamp Outlines
Before diving in, cut out your design outlines. If you have a Cricut machine, you can use the I've Been Abducted Free Cricut File to cut out your stamp images before inking. If you don't have a Cricut machine, you can use scissors to cut around the designs after stamping.
Learn More: How to Cut Out Stamped Images With Cricut
2. Create Base Card
Measure and cut a 4x6 card out of colored paper. We recommend using black to illustrate the night sky. From here, fold the card in half. Measure and cut a white cardstock to be the insert inside of the card. Cut a portion of the front card to reveal the white cardstock inside. This cut piece will become the handle flap for the card. Finally, use a nebula, dark space patterned card stock, measure, and cut to fit the front card and handle flap.
2. Blend Ink Colors
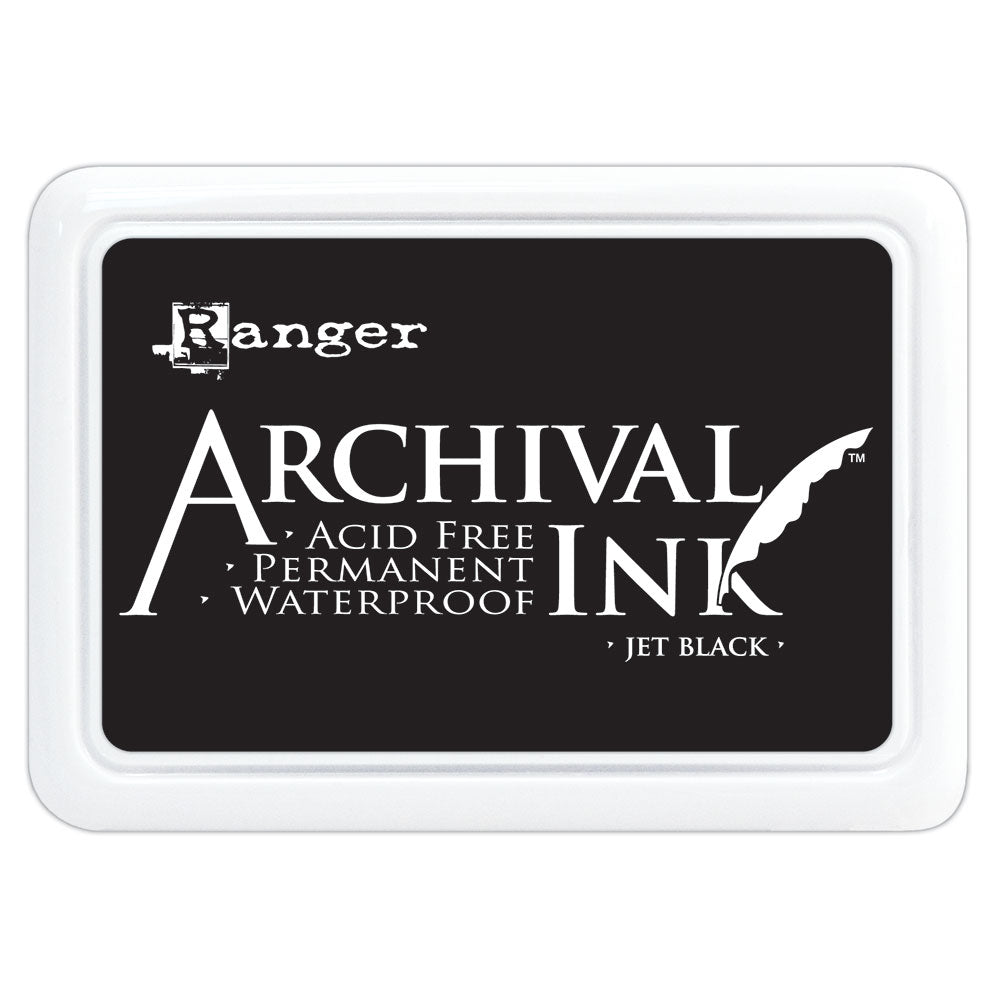
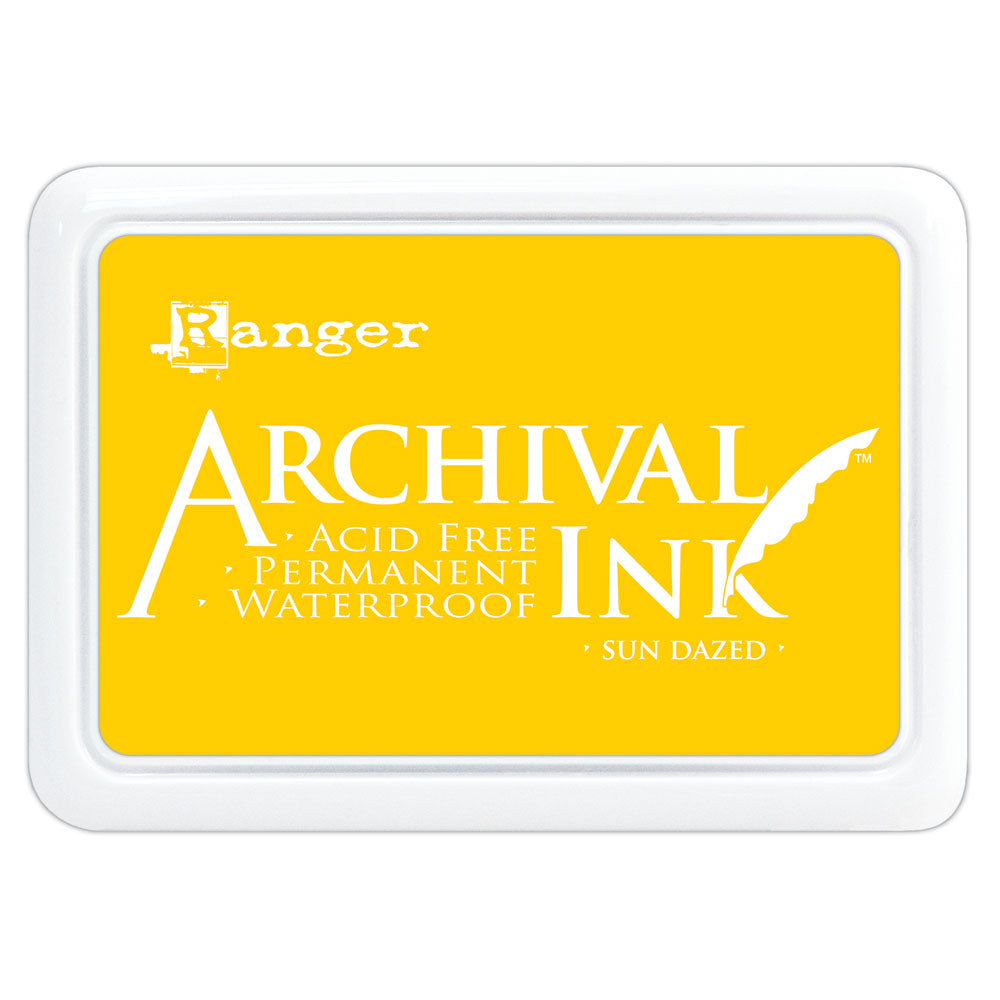
Using your ink blending tool and dye ink pads, blend the lightest to darkest ink color onto the spaceship outline. We are using Archival ink pads in colors Sun Dazed, Vivid Chartreuse, Shadow Grey, and Jet Black.
Tip: Angle your blending brush and ink from the edges inward. This will help create an outline of your design cutouts.
3. Stamp on Text and Design
When applying your designs, opt for a pigment ink. This ink choice is crucial, especially for the text, as it is slow-drying. The slow drying of pigment ink ensures that the glow-in-dark embossing powder adheres effectively to the text, producing a vibrant and long-lasting result.
4. Add Glow-in-Dark Embossing Powder
Time for some extraterrestrial fun! Place your stamped text on top of scrap paper for easy cleanup. Pour your glow-in-the-dark embossing powder onto the text and brush off any access.
With a heat gun, heat your powder until it has been cured. Glow-in-dark powder may require some extra seconds, so be sure to double-check your stamps.
5. Optional: Add Extra Details
Before piecing the card together, you can add details and personal touches. Embellishments and fine-line details can help make your card stand out and leave a lasting impression.
6. Assemble the Card
Attach the stamps onto the card using a glue runner. Be mindful to only adhere the sections of the spaceship that will connect to the fold flap to avoid sealing your card. Complete the card by adding a personalized message, making it heartful and extortionary.

I've Been Abducted
Find More Inspiartion!
Featured Products
HOW DO YOU STAMP?
#STAMPWITHUS
-
Posted in
Card Making, Embossing


