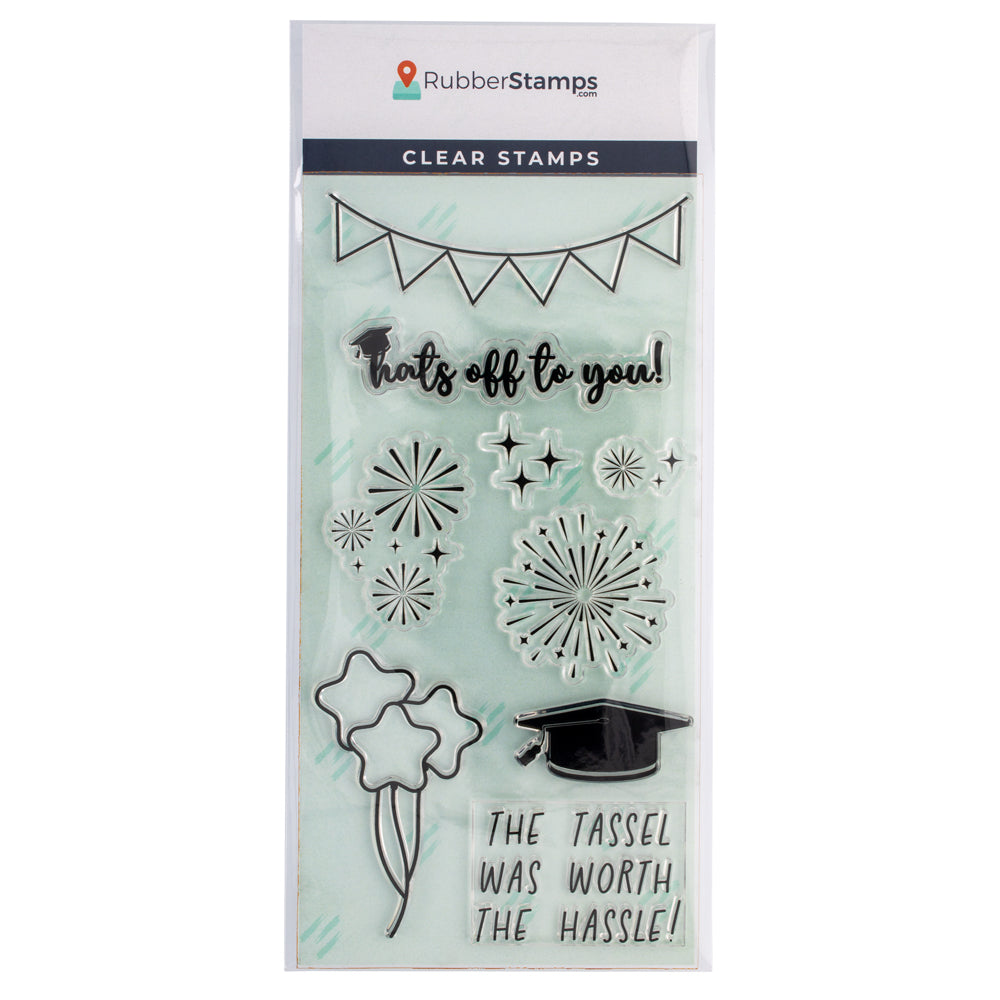
If you’re looking for a unique way to commemorate your grad's special day, why not have some fun and get creative with DIY graduation party invites? Making your own invitations is a great way to add personal flair and a pop of color to any celebration. In this post, we'll talk you through all the steps needed to put together a stylish DIY graduation party invite that will make your loved one truly feel celebrated. Let's get started!
Fun DIY Graduation Party Invites
Greeting Card Materials:
Required Materials
- Hat's Off To You Clear Stamp Set
- Free Cricut File - Hat's Off To You
- Acrylic Stamp Block
- Dye Ink Pad
- White Cardstock
- Craft Paper of Choice: Colors, Patterns and Designs
- Glue
- Scissors or Cricut
- Envelope
Optional and Recommended Materials
- Prismacolor Alcohol-Based Markers
- Glue Tape Runner
- Gelly Roll White Gel Pen
- 3-D Styrofoam Dots
- Sequin Embellishments
- Bone Folder
- Address Stamp
Hat's Off Colorful Party Invitation Instructions
1. Begin by preparing your card base
To get started, gather all of your materials so you have them accessible. Choose your craft paper you want as your card base and fold in half using a bone folder if you have one. For this project we choose a pink watercolor card stock.
2. Stamp designs onto white card stock
If you have a Cricut machine, you can use the Hat's Off To You Cricut files to cut out your stamp images before inking. If you don't have a cricut machine, place your white card stock onto a craft matt or paper to protect your surface.
Then, ink your stamp with black dye ink. Dye ink is water-based, which is great for card making as it drys quickly and creates crisp outlines for coloring in. Stamp all the designs you want to use on the sheet of white card stock. Be sure to space out the stamped impressions so that you can cut around them.
Using clear stamps is easy, simply peel your stamp from it backing sheet and place onto an acrylic stamp block. The photopolymer is slightly tacky, so your stamp can easily stick and be removed from your stamp block.
3. Color your stamps
Now its time to add color to your stamped impressions! For this project we used alcohol based art markers to color and add patterns to our party balloons! However, you can use your coloring medium of choice.
Tip: Pre-Select your colors and placement before begining the coloring process. This will ensure you create a complemntary visual balence to your party balloons.
Color each of your balloons, and then go in and add fun patterns as you see fit to create extra flair!
4. Create your card greeting
Next, we'll create the greeting message for the card invitation. We used the message: "The Tassel Was Worth The Hassle." Measure and cut a peice of white cardstock. Stamp your greeting onto the paper. Then, measure and cut another patterned paper of your choice for the border of your greeting.
5. Assemble the card
Cut out your colored stamps with a scissors, exacto-knife, unless your Cricut machine has done this already. Next, Place all of your elements together on your card to ensure the layout and look you want before you start gluing peices down.
Once you are happy with the placement, glue all your elements down. We recomend using a glue runner as it is quick, easy and mess free.
5. Optional: Add additional detail
Add additional details with sticky gems or glue down sequins, as we did. If you want to add a 3D effect your your card, so that some elments are rasied on the face of the card, simply use adhesive styrofoam dots. place them on the back of the element you want to be raised, and place into your card for a 3-dimansional effect, just like a pro!

Hats Off To You
More Party Themed Card Ideas!
HOW DO YOU STAMP?
#STAMPWITHUS
-
Posted in
Card Making


