Crafting is a wonderful way to connect with your creativity and express yourself. And what could be more enchanting than a garden-inspired card? You'll be able to smell the sweet aromasCard-Making of these gorgeous florals in bloom illustrated by Varada Sharma Designs. Let this fun tutorial help you create charming cards that are perfect for any occasion! Whether it's for someone special, or just because, these heartfelt cards will bring delight and joy to anyone. So grab your supplies and get ready to embark on A Garden's Delight Card Making journey!
A Garden's Delight Card-Making Tutorial
Greeting Card Materials:
Required Materials
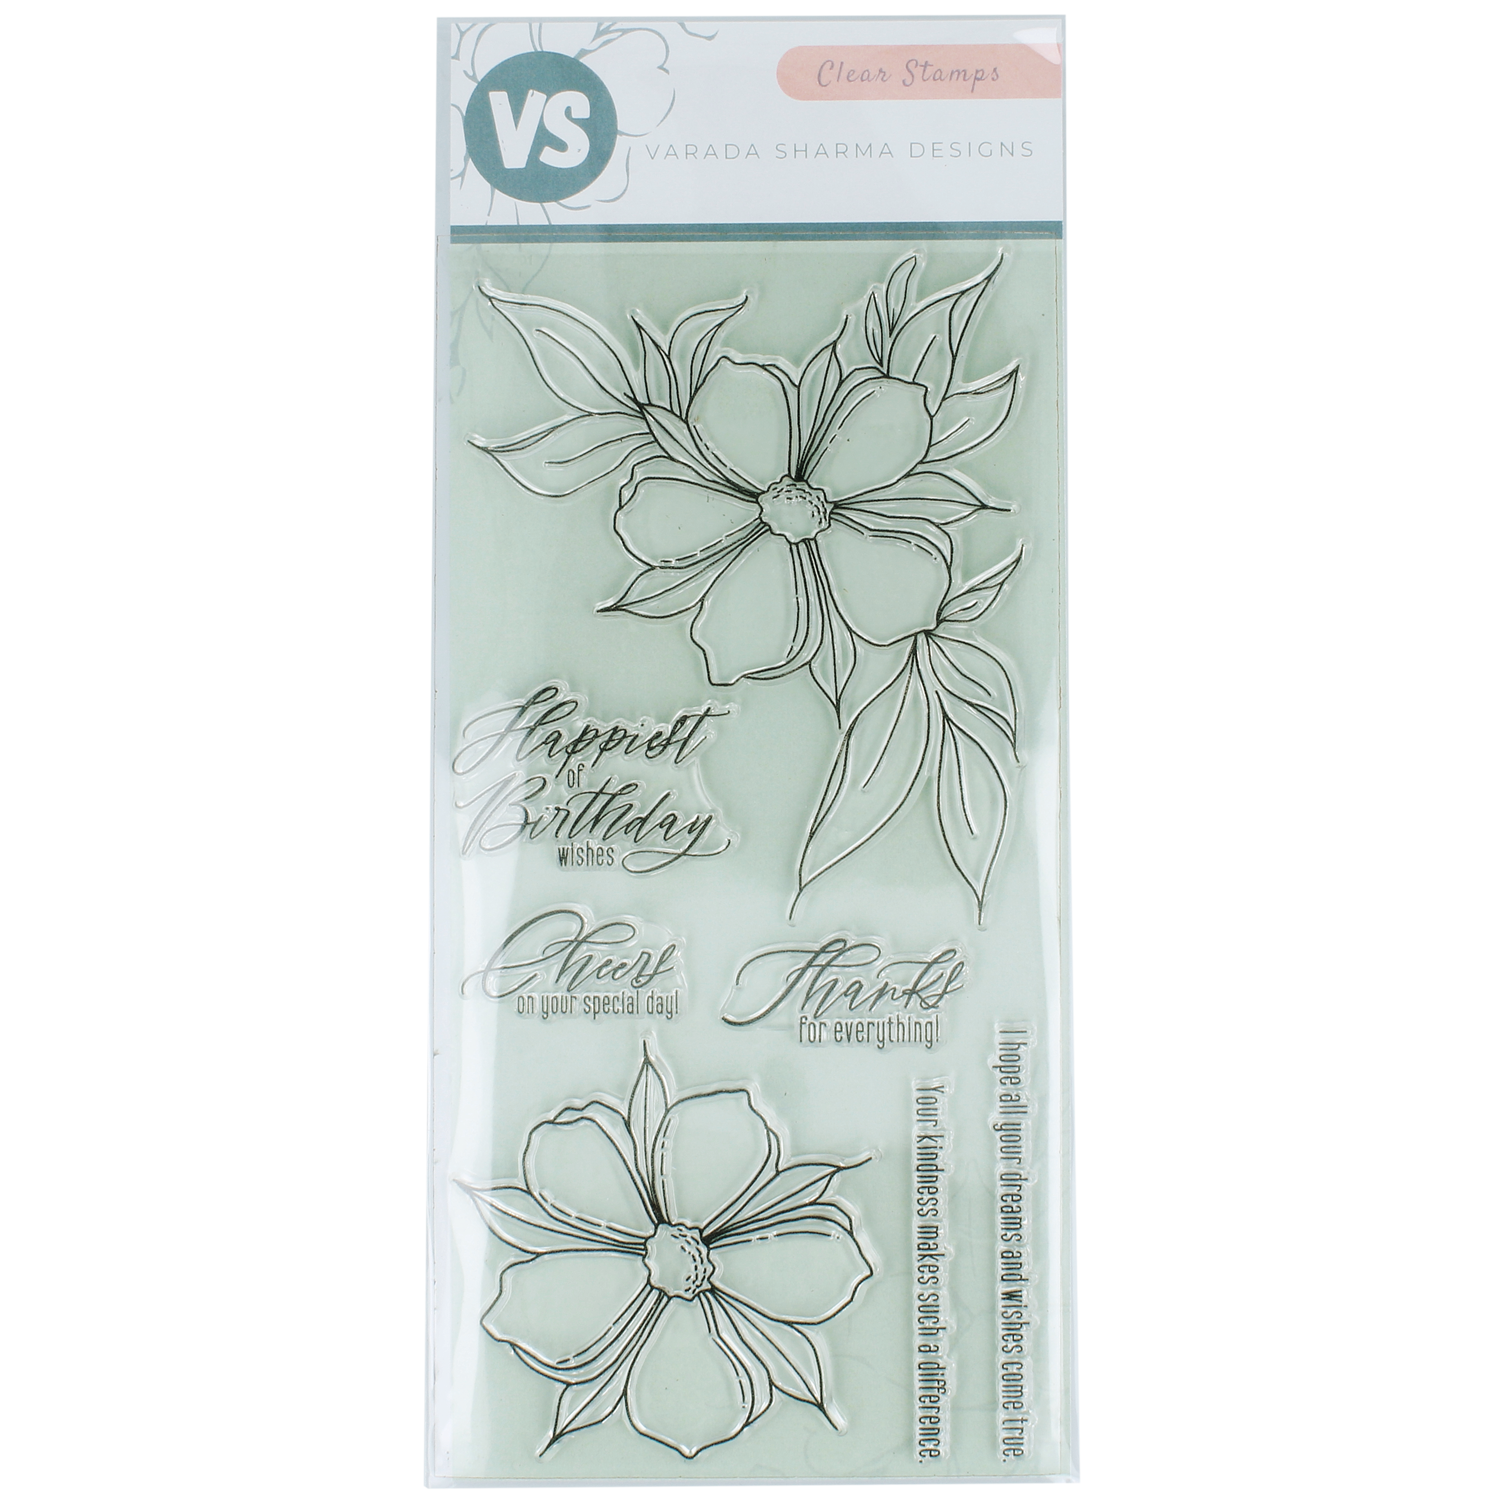
- Garden Delight Clear Stamp Set
- Free Cricut File - Garden Delight
- Acrylic Stamp Block
- Craft Ink Pads
- Navy Blue Cardstock
- Heat Tool
- Embossing Ink
- Embossing Powder
- Color Pencils
- Glue
- Scissors or Cricut
- Envelope
Optional and Recommended Materials
- Corner Rounder
- Glue Tape Runner
- 3-D Styrofoam Dots
- Pearl Embellishments
- Tweezers
- Bone Folder
- Address Stamp
Garden Delight Greeting Card Instructions
1. Begin with stamp die-cuts
To get started, gather all of your materials so you have them accessible.
If you have a Cricut machine, you can use the Garden Delight Cricut files to cut out your stamp images before inking. If you don't have a Cricut machine, place your blue card stock onto a craft mat to protect your surface. Stamp all the designs you want to use on the card stock. Be sure to space out the stamped impressions so that you can cut around them.
Learn More: How to Cut Out Stamped Images With Cricut
Using clear stamps is easy, simply peel your stamp from it backing sheet and place it onto an acrylic stamp block. The photopolymer is slightly tacky, so your stamp can easily stick and be removed from your stamp block.
Second, ink your stamp with the ink pad of your choice. For this project, we recommend using black, clear, or blue ink.
2. Use embossing ink
Once you have your die-cut pieces, the next step is to stamp your dies with clear embossing ink.
Tip: Use a little bit of glue or tape to secure your die-cut pieces to your craft mat for stamping.
Once stamped, cover the impression with gold embossing powder. Then, remove the excess powder back into the container.
Tip: Use a small paint brush, if you have one, to gently brush away any stubborn flakes of embossing powder where you don't want it to show.
3. Heat set your designs with a heat tool
Next, use a heat tool to set the embossing powder. Keep the heat tool about 6-8 inches away, rotating in a circular motion for about 30 seconds. You'll know when it's done as the powder will look more solid and shimmery.
4. Add shading and highlights to the flowers
Remember to work from light to dark when coloring stamped images. Start with a white color pencil to highlight the center. Use more pressure and strokes in the center of the flower and use lighter pressure to fade out from the center. Use similar shading techniques for coloring the leaves.
5. Blend the card background
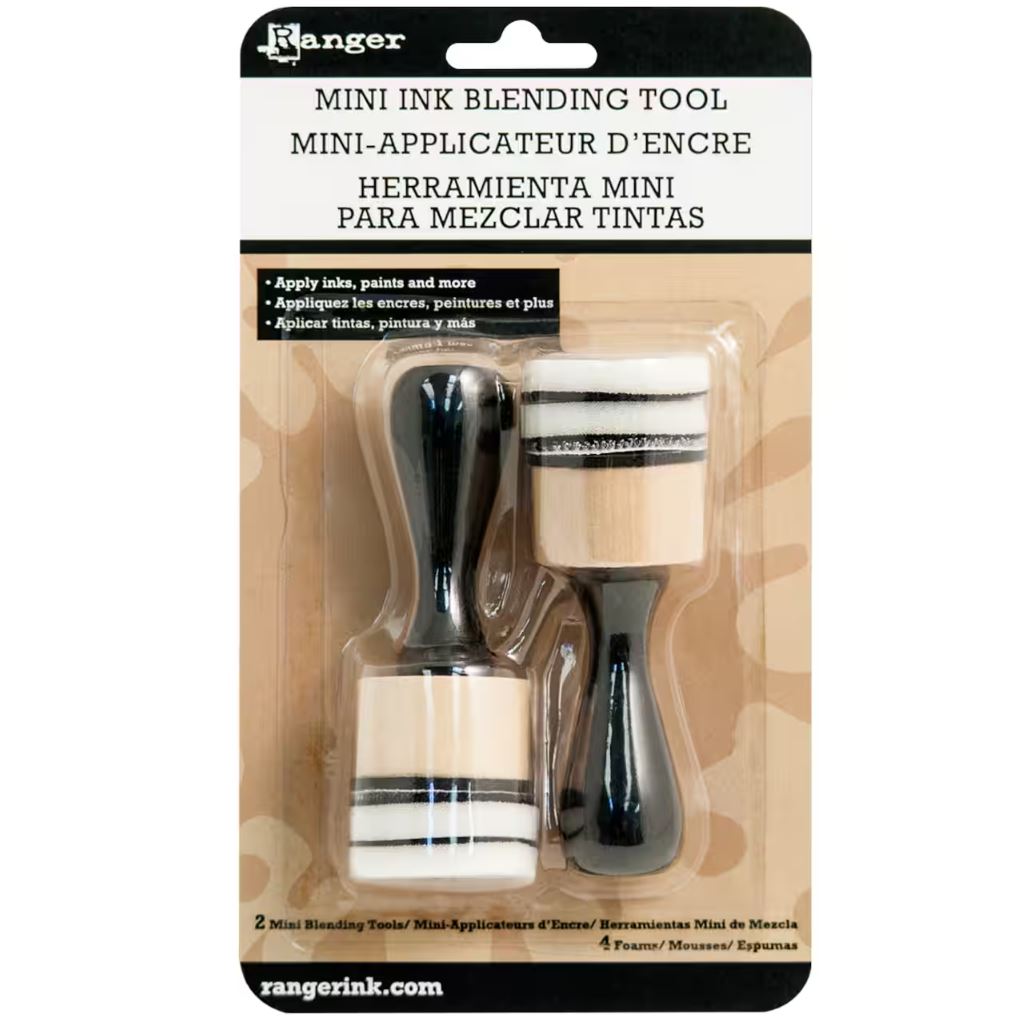
Use dark blue ink and a blending tool to create a shading and gradient effect on the edges of the card base or background.
6. Assemble the card
Place your elements where you want them to be. We put our flower in the top right corner with our greeting in the middle with an added gold embossed flower in the bottom left corner. Repeat steps 2 + 3 to replicate this effect.
Place your elements where you want them to be. We put our flower in the top right corner with our greeting in the middle with an added gold embossed flower in the bottom left corner. Repeat steps 2 + 3 to replicate this effect.
When you are happy with the placement, glue your pieces down. Consider using 3D adhesive dots to add extra depth and dimension to your design.
Finish off with some decorative elements such as adhesive pearls to let your card delight!
Now you're ready to delight friends and family with this beautiful card! Don't forget to follow our blog and socials. Show us your version of this card, or share a new creation with us! Tag us @RubberStamps_com and use #StampWithUS to enter our monthly giveaway! Winners receive a $25 credit to use at our shop!
Garden Delight stamp set sentiments:
- Happiest of Birthday Wishes
- Cheers on your special day!
- Thanks for everything!
- Your kindness makes such a difference
- I hope all your dreams and wishes come true
More Garden Delight Stamp Set Inspiration
Featured Products

Garden Delight by Varada Sharma Designs

Emboss It Ink Pad Clear

Ranger Embossing Powder 1oz. - Gold Tinsel

Archival Ink Pads - Cobalt

Mini Ink Blending Tool 1" Round (Includes 2 Tools/4 Foams)

Modern Bouquet by Varada Sharma Designs

Dancing Florals by Varada Sharma Designs


